


Blog navigation

 0
0
Want a personalized tray for your next creation? If you are fond of DIY and always looking for new discoveries, in addition to knowing which tray is suitable for your project, we present here several tips for making a unique and inexpensive tray. No more wasting time in stores looking for the right one, tailor it without difficulty.
BASTAING
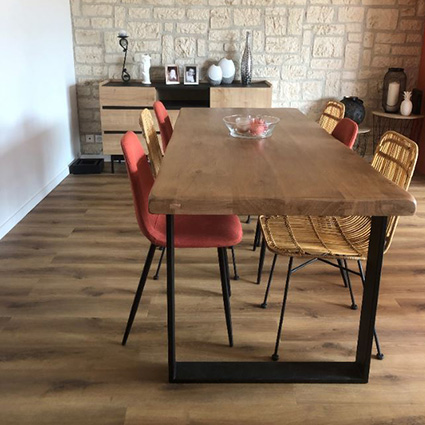
The must-have of DIY: bastaing. This structural timber is widely used for works and in particular for the construction of frame structures. This material is successful in various DIYs thanks to its very low cost price. The number of bastaings is to be adapted according to the planned project. Perfect for creating trays for a dining table, a coffee table or a bench.
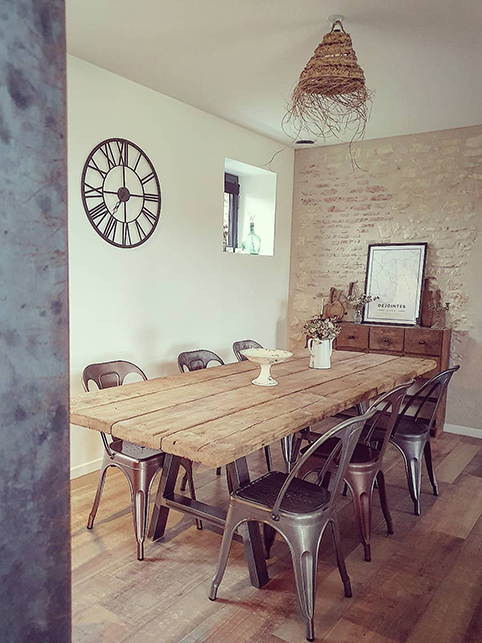
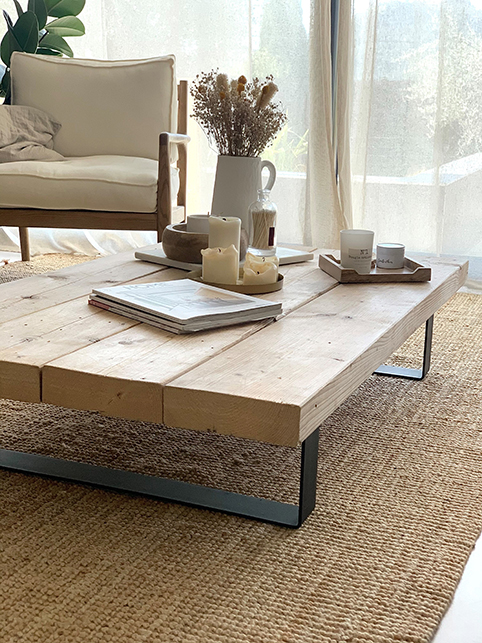
Photo credits : Left - @pic.by.coco | Right -@home_6.0
It does require some elbow grease, however, because very often it is sold raw, so you have to sand it well to remove all the rough edges of the wood and make each one smooth.
Paint it so that this new tray blends into your interior. It is also possible to varnish it to give it a different character.
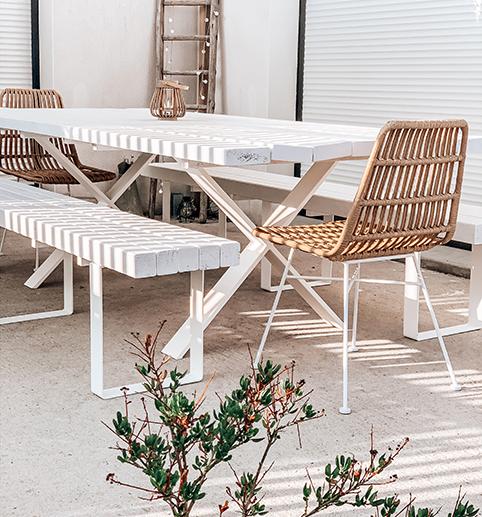
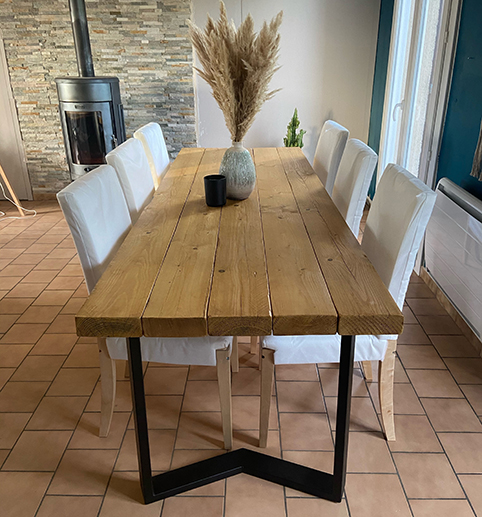
Photo credits : Right - @_mathildeb
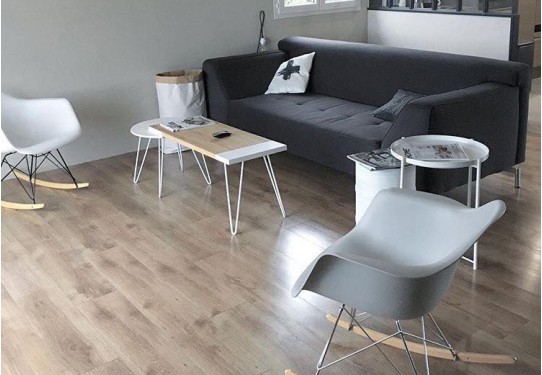
FLOOR BOOT
To create a unique board, the use of parquet boot is a good diversion from its basic use. Using parquet to create a table allows you to play with movement and imagine, for example, a chevron design.
Depending on the desired design, you will need to add a base under the created top to hold the different boards together. For a herringbone pattern, use an OSB or MDF board sturdy enough so that the top weighs a minimum and is stable when set up. For a more classic design, with a lengthwise arrangement, 2 to 4 cleats are sufficient (to be arranged crosswise to keep the boards together).
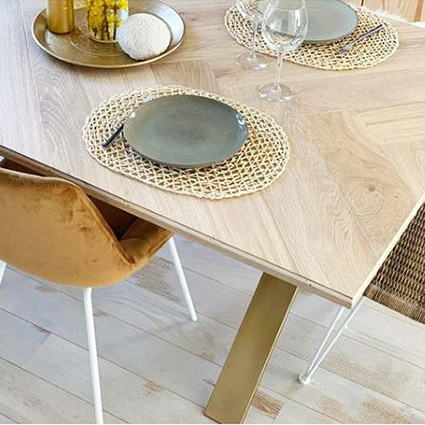
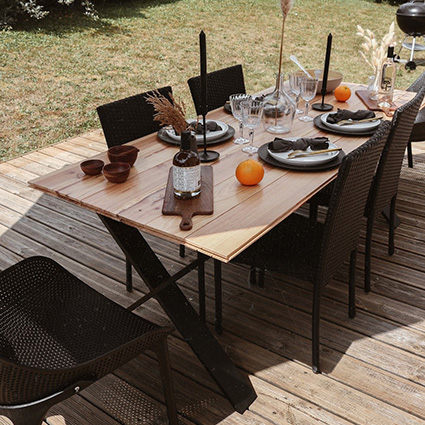
Photo credits : Left - @justinepgd | Right - @paulinedress
This tip can also be used for outdoor furniture, it is important to varnish this new top to keep it over time.
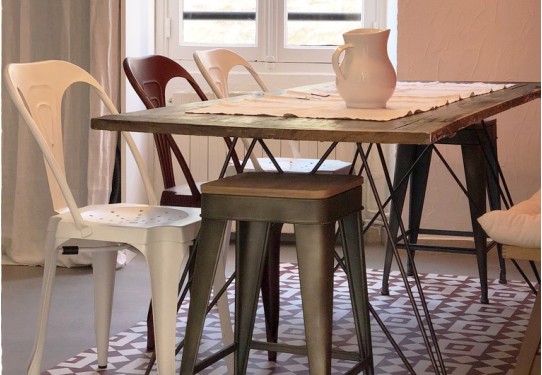
WAGON WOODEN PLANK
The wagon boards are part of an ecological approach. The SNCF wagon floor is made up of wooden slats which have, for years, found their place on the railway tracks. These boards are recycled once at the end of their life. These wooden slats, with natural patina, are all different and have a unique cachet.
There are different thicknesses that allow you to make tops for bench, coffee table, console, dining table , etc. The traces of time are visible on this wood and tell a story through each new creation.
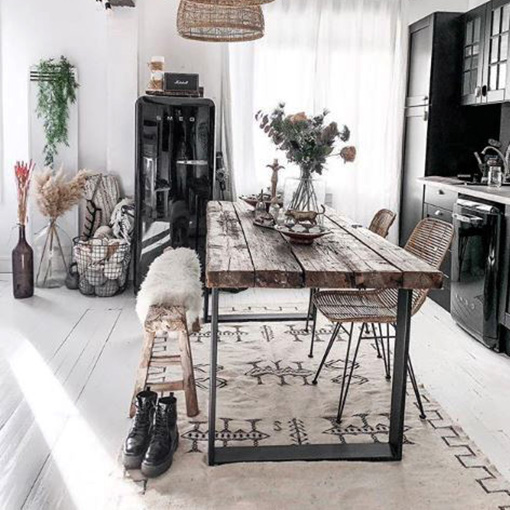
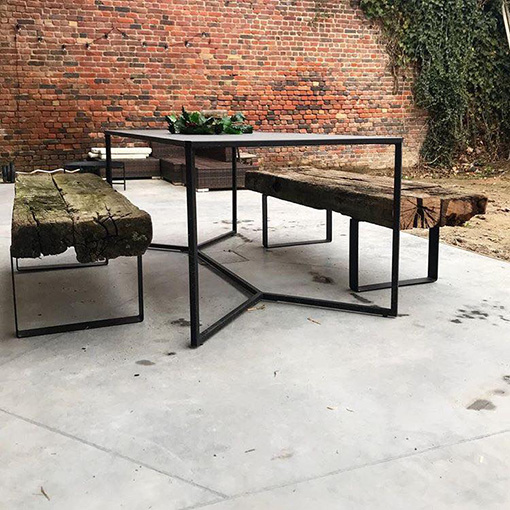
Photo credits : Left - @justine_mb | Right - @sosoomao
MONASTERY TRAY
Even without having had one, you have surely all seen these old monasteries tables with a solid wood top and base often covered with very dark layers of varnish. From another era and another fashion, these tables are very qualitative and it is out of the question to get rid of them, recycle them!
Once the large base has been removed, sand the table to find the color of the original wood and then cover it with a varnish of your choice to protect it. This gives this table top a second life. more robust and solid and which has become more modernized by changing feet. It’s a way, through furniture, of keeping family heirlooms that bring back such fond memories.


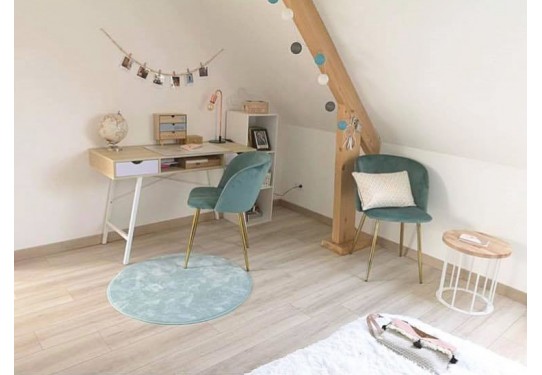
OSB TRAY
OSB tops are made from several layers of compressed wood slats. Very economical and very light, it is mainly used for wooden frame walls thanks to its thermal and sound performance. This sturdy material is easy to handle and therefore very interesting for beginner DIY enthusiasts.
Very practical for creating an occasional desk properly maintained thanks to a wall or a corner . With a few feet, this board is dressed and becomes a real piece of furniture. This material is recommended for occasional furniture. Another easy-to-find and inexpensive material: the pallet discover all the possibilities of furniture creations with this material, by clicking here.
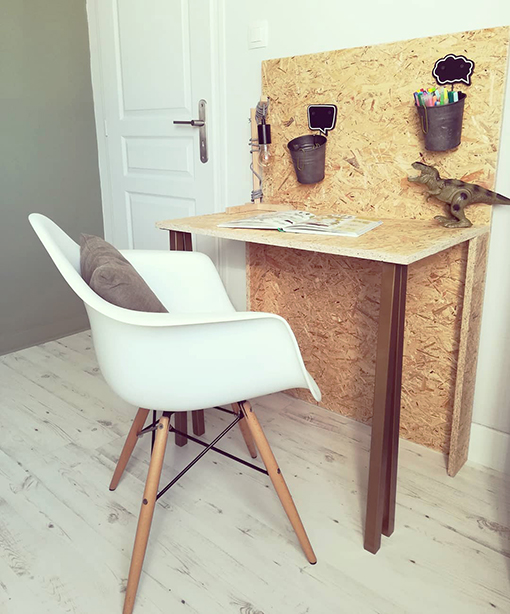
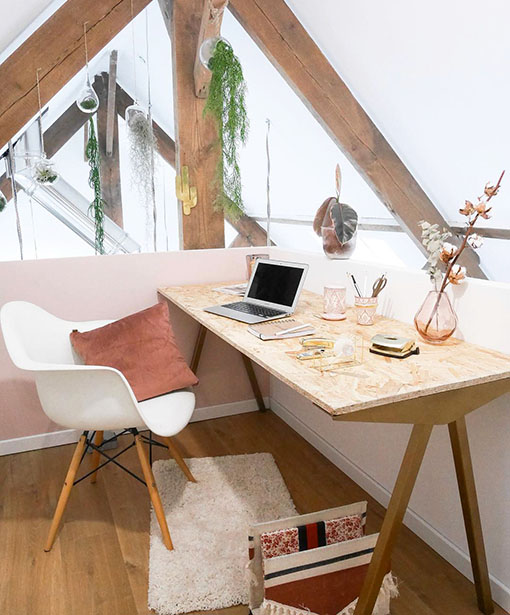
Photo credits : Left - @decoreli_home | Right - @sosoomao
COFFEE GROUNDS
Dyeing a tray with coffee grounds is a more natural option. Very simple, it gives color to the grooves and grain of the wood. We discovered this trick thanks to @benjamin.laurie on Instagram.
To do this, you need to boil coffee and water. Several application possibilities for a different effect: with a sponge, a cloth or a brush by making circular movements or in the direction of the grooves of the wood so that the wood absorbs this mixture. The idea is to repeat this idea several times to mark and distinguish the knots in the wood and accentuate the color.
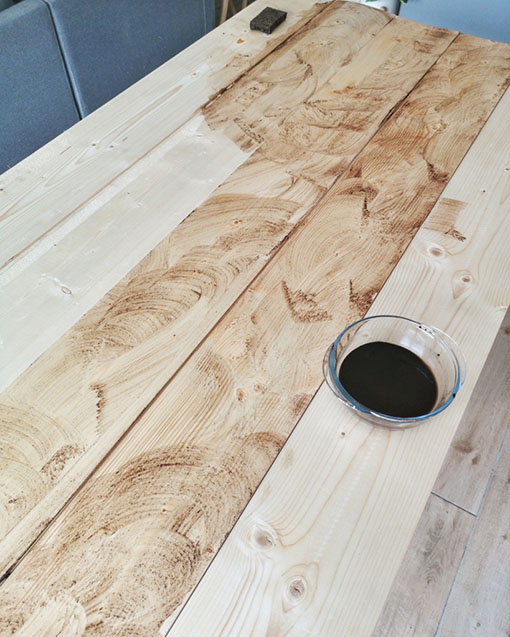
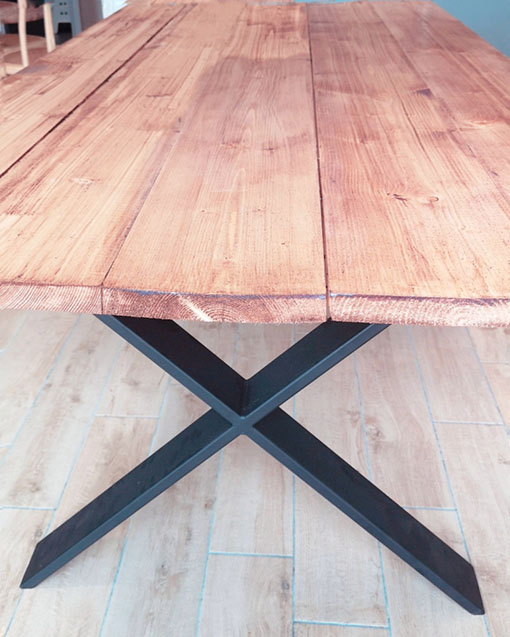
Photo credits : @chateau.leg0
There are other foods that can tint the wood more or less : black tea for a light shade, chicory for a golden wood or even walnut stain for a more rustic effect.
Remember, after the last coat and drying, to protect the whole with a varnish to maintain the color.
DARK VARNISH
If you are sure of the desired shade for your tray, consider more classic solutions. Choosing a dark shade doesn't mean going back to the old-fashioned solid wood cabinet that our grandparents had. This gives depth to the top while approaching the hue of walnut.
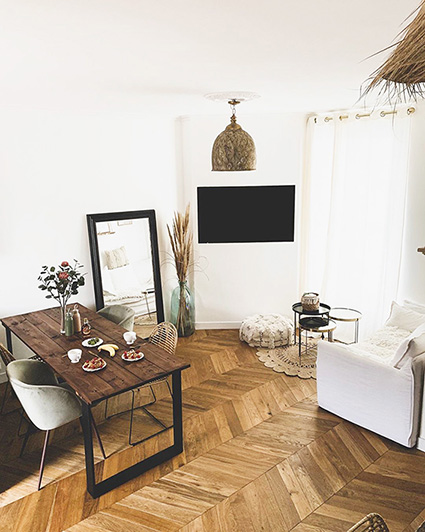
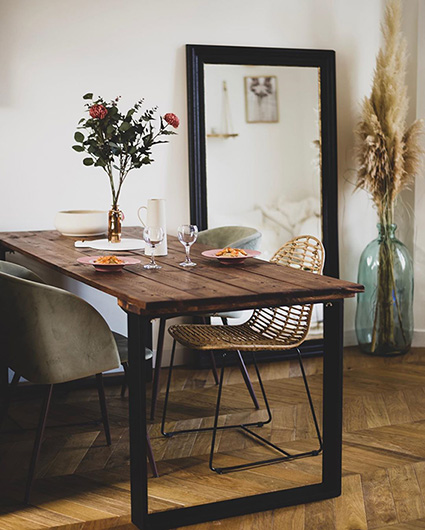
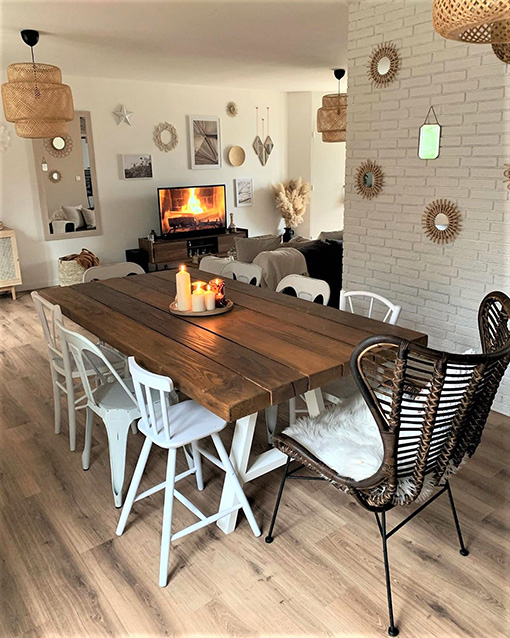
Photo credits : Left - @maesoftness | Right - @aventuremaisondeco
You now know all our tips for making your own tray according to the desired piece of furniture and personalizing it to make it unique and singular. You will be completely satisfied with having built it as well as having created the perfect piece of furniture. Discover our inspirations from low table, of dinner table, of console : or even table with a central leg.
Mix these tips together to make sure you create the project that's right for you!
Related posts
-
 An atmosphere inspired by the Scandinavian style │ Style game # 6
Because it perfectly shows how the subtlety of materials, furniture and colors can create a refined and warm style,...
An atmosphere inspired by the Scandinavian style │ Style game # 6
Because it perfectly shows how the subtlety of materials, furniture and colors can create a refined and warm style,... -
Little foot will become big! La Fabrique is also furniture for children and teenagers!
In the mind of a fabricator, when we think of furniture, we think of foot and when we think of foot, we think of...
-
An industrial chic atmosphere… in the countryside │ Style game # 5
This dining room perfectly shows how the subtlety of materials, furniture and colors can create a refined and warm...
Leave a comment