


Blog navigation

 0
0
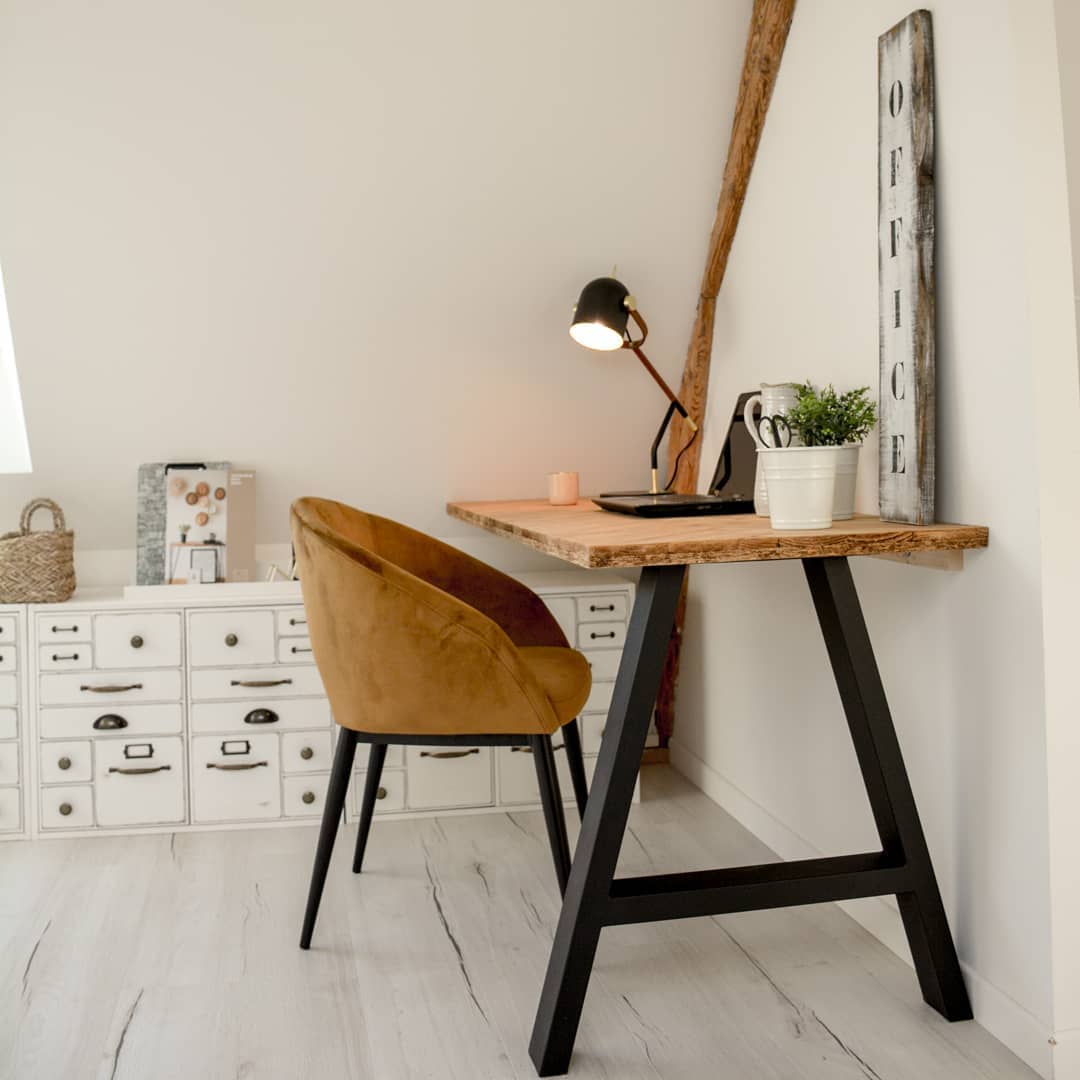
The desk is both a simple piece of furniture and a complete piece. If space is lacking, be creative to create an office corner in your interior. Laura from the account @Loisel.industry installed hers on the landing. It has found its place against the wall and accompanied by storage space. In a few steps, let's discover this DIY together.
MATERIAL
- 1 OSB plate of 100x70 cm
- 40 fir planks 50 cm long, 40 cm wide, 15 mm thick
- Sandpaper 80 and 180
- Wood glue
- Clamp
- Circular saw
- Coffee grounds
- 1 foot A 71 cm
- Screwdriver
- 6 x 20mm screws
- 1 wall bracket
DIY PROCEDURE
STEP 1
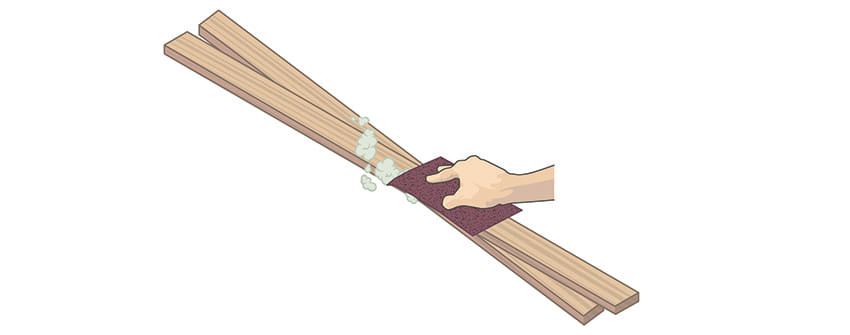
Sand all fir boards in two phases:
- The first with a large type 80 grit: this will remove major roughness such as splinters
- The second with a large medium or fine type 180: this will smooth the surface
Between the 2 passages, remember to remove the dust with a damp sponge.
STEP 2
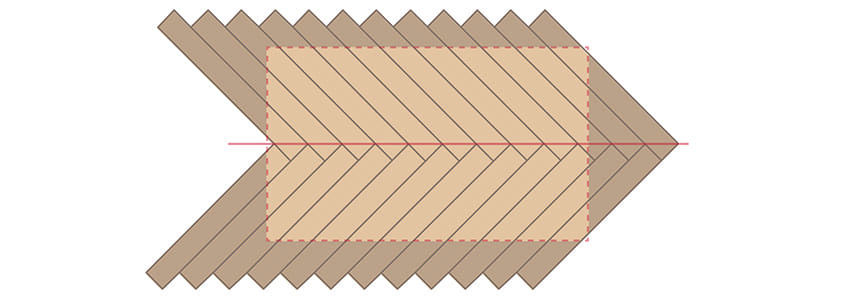
Arrange the fir boards on your OSB board to ensure their location.
Tips : think about centering the first ones and having the same overhang on each side to create a graphic and harmonious top. The risk being to finish obliquely.
STEP 3
Once the placement is safe, take each board, place glue directly on the face that will come against the OSB board and also glue on the OSB board. This allows a double gluing since they are 2 different woods.
Proceed in this way until all the boards are glued to the OSB plate. Once finished, you need to maintain some pressure on the set. Several possibilities :
- With a second board and clamps
- With lots of books covering the whole surface (we recommend having something between the board and your books, in case glue comes out of the seams)
Leave to dry for 24 hours.
STEP 4
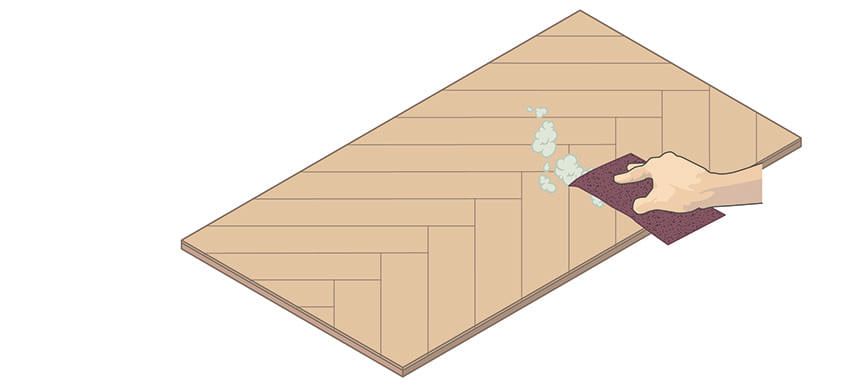
Sand the entire surface of the plate with a large very fine type 240.
STEP 5
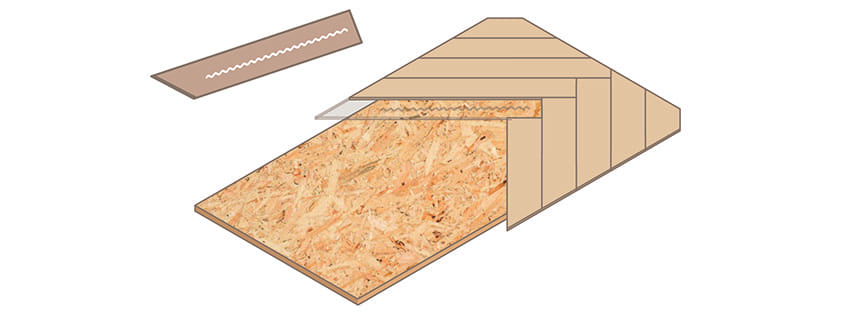
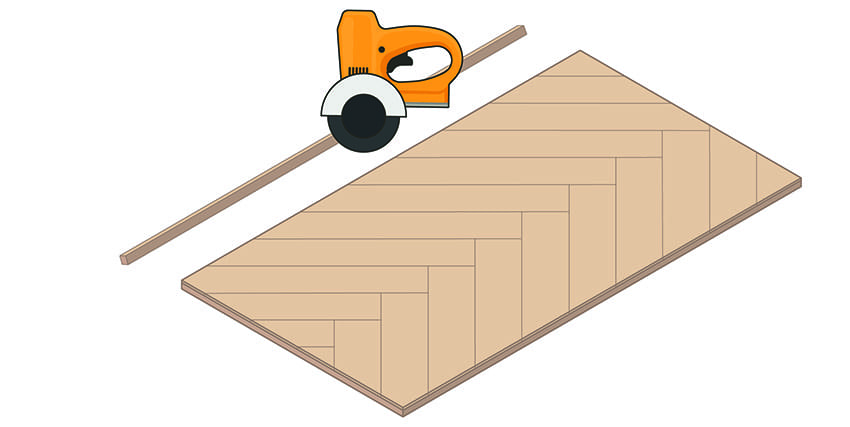
Cut the excess wood with a circular saw and sand the edges if necessary
STEP 6
It's time to protect the board. Here we are going to tint it with coffee grounds. To do this, dilute several spoons of coffee grounds in boiling water. After ten minutes, filter the whole.
Then apply with a cloth, brush or sponge. Allow to dry before applying a new coat.

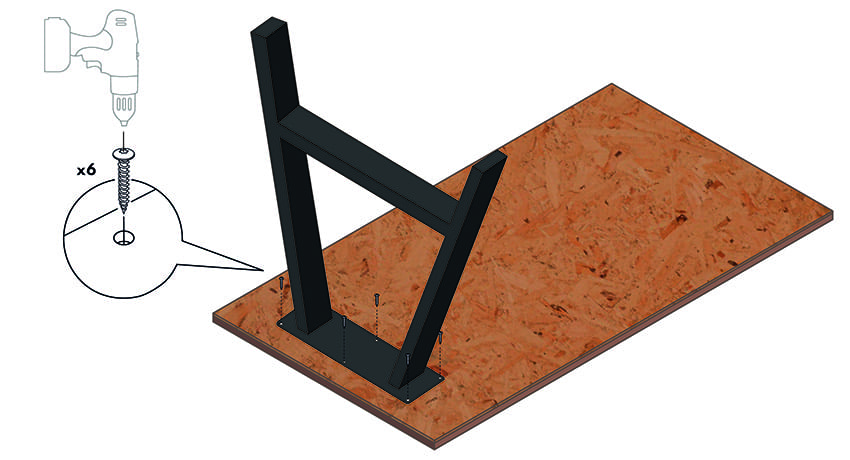
STEP 7
The tray is ready, place at the foot. Turn the tray over to place the foot A 71 cm 20 cm from the edge. Make sure you are centered before fixing it with the screwdriver and the 20 mm hinge screws.
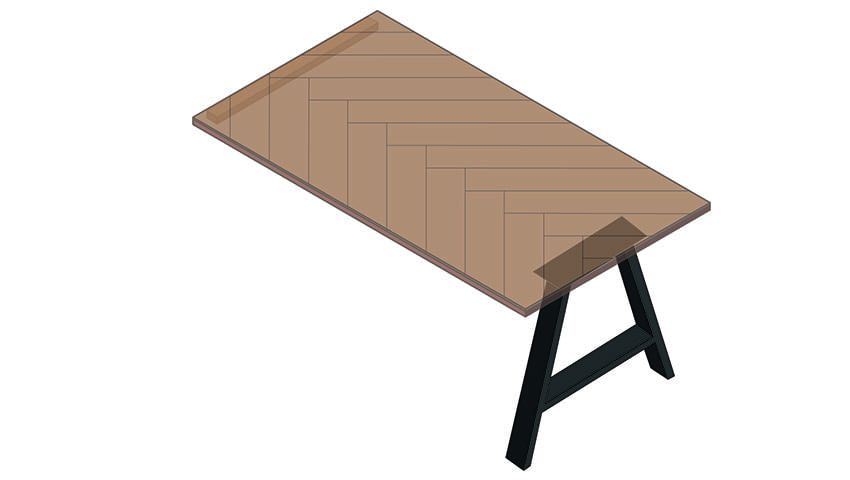
The width of the total plateau was decided according to the impasto of the foot on the ground. Thus, top and foot are almost equal. We share some tips for you to choose the size of your desk, by click here.
STEP 8
Here, the second part of the piece of furniture is fixed to the wall via a raw wood bracket painted black and hidden under the top.
You can also fix the set to the wall via a simple cleat or even place the set on a storage box.
THE RESULT
Did this DIY make you want to? To offer you even more inspiration, discover our top 12 desks made with our feet, by click here.
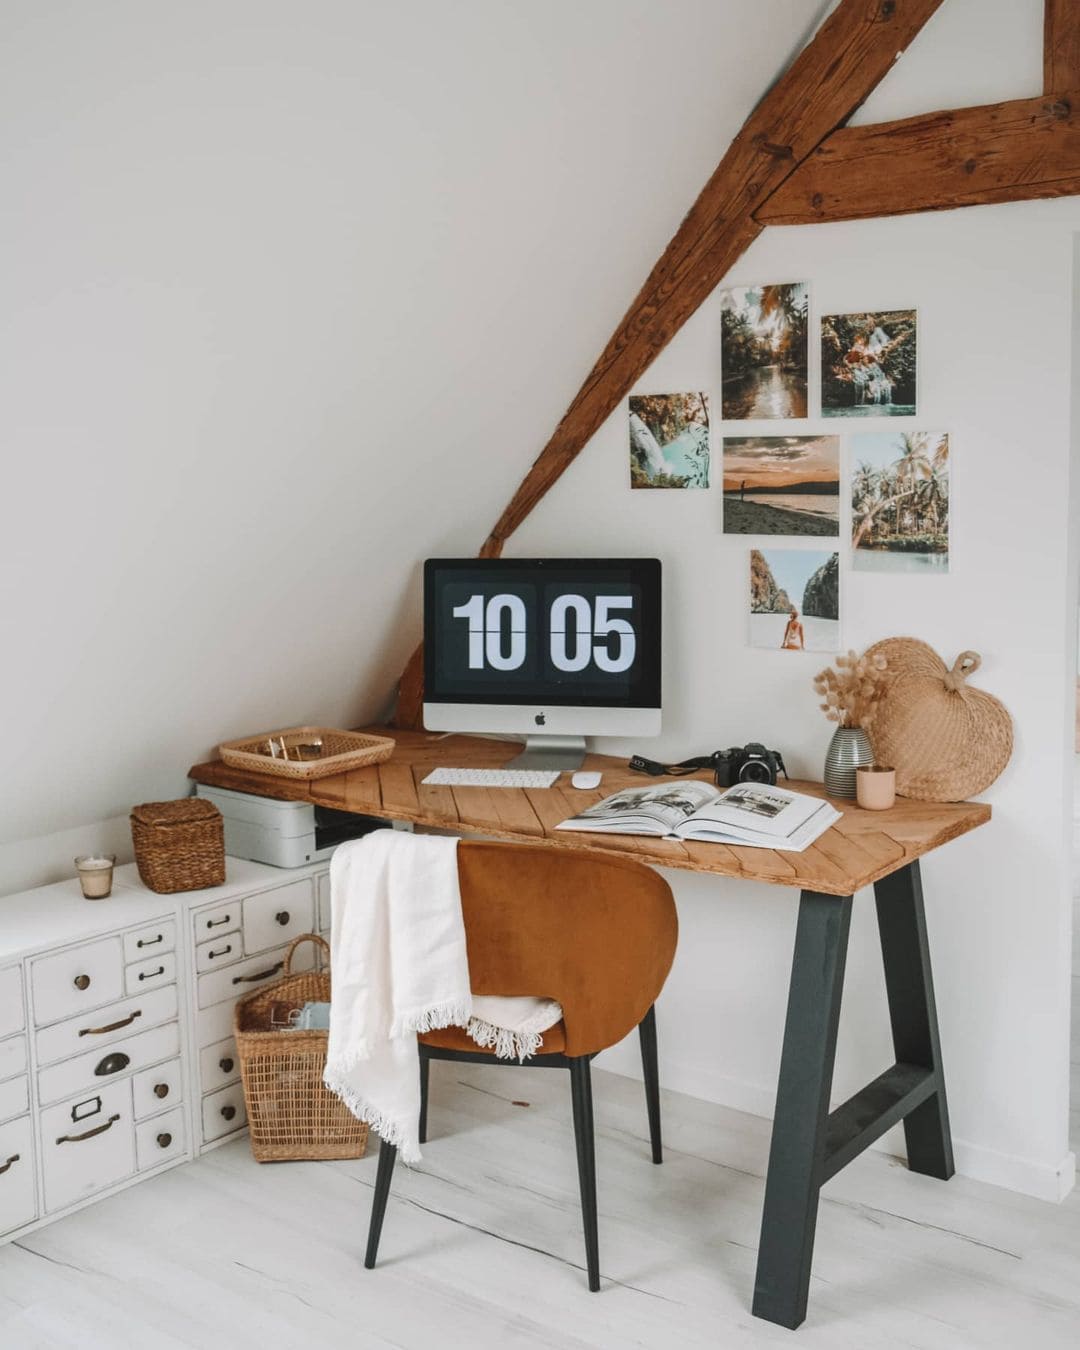
The layout of the boards in "herringbone" is very trendy and quite similar to the chevron layout called "point of Hungary". The difference lies in the angles, one at 90° and the other at 45°.
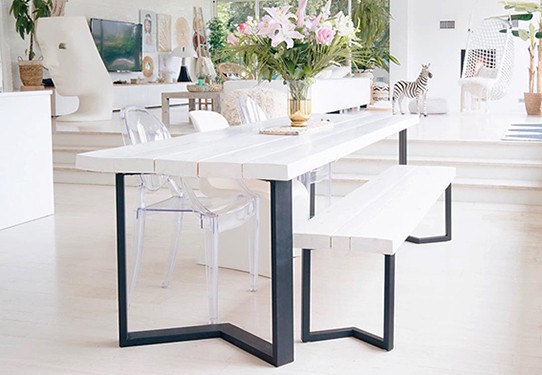
On the same principle, discover the dining table made from parquet this time to obtain this same herringbone pattern.
Related posts
-
 HOW TO MAKE YOUR DINING TABLE YOURSELF?
The dining table is one of the centerpieces of the house, it will give character to your interior and will...
HOW TO MAKE YOUR DINING TABLE YOURSELF?
The dining table is one of the centerpieces of the house, it will give character to your interior and will... -
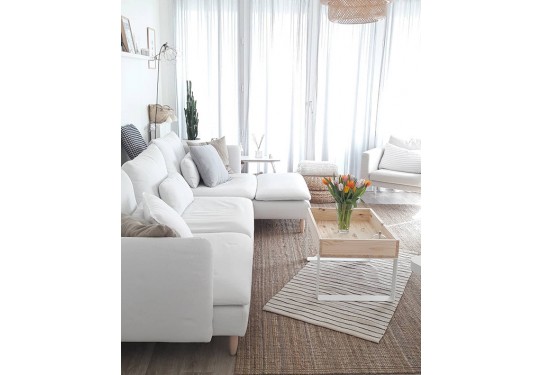
HOW TO MAKE A COFFEE COFFEE TABLE?
The coffee table is the center of the living room, where your evenings with family and friends will take place, where...
-
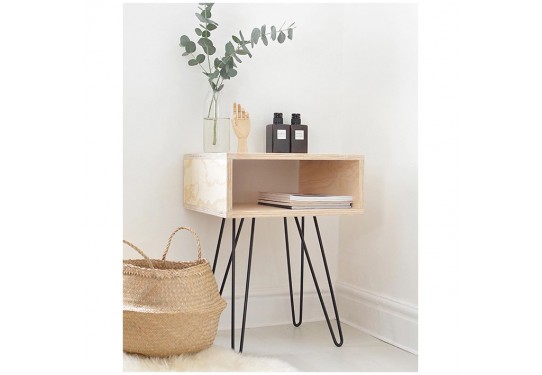
HOW TO MAKE A BEDSIDE TABLE WITH A BOX?
Are you desperately looking for a bedside cabinet without finding what you are looking for? We are offering you a DIY...
Leave a comment