


Blog navigation

 0
0
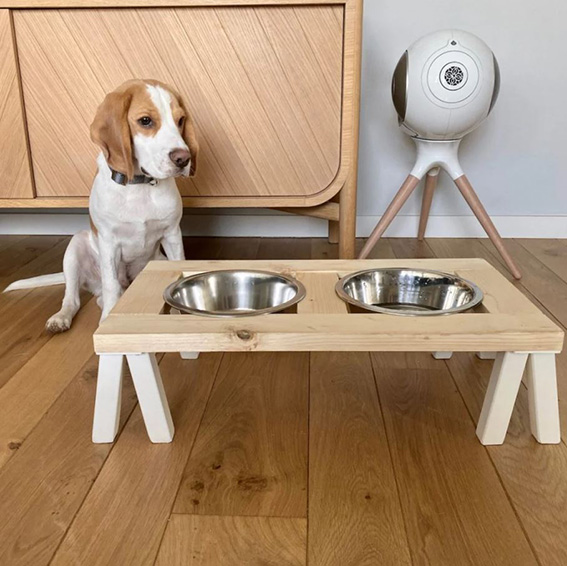
All furniture can have a DIY equivalence and some are more interesting than others, especially for the quality / price ratio. For this DIY, we present to you a bowl holder for your dear pets inspired by the creation of @clemaroundthecorner from the blog of the same name, Clem Around The corner. In a few steps, make a bowl to your liking and at a lower cost !
EQUIPMENT
- A pine cleat 160 cm long and 7 cm wide
- A pencil
- A bracket
- A saw
- Medium grit sandpaper
- 8 brackets
- 32 self-drilling screws
- A brush
- Colorless varnish
- 4 square feet 15 cm
- 16 hinge screws 20 mm
- A screwdriver
- Two stainless steel bowls with a diameter of 21.5 cm
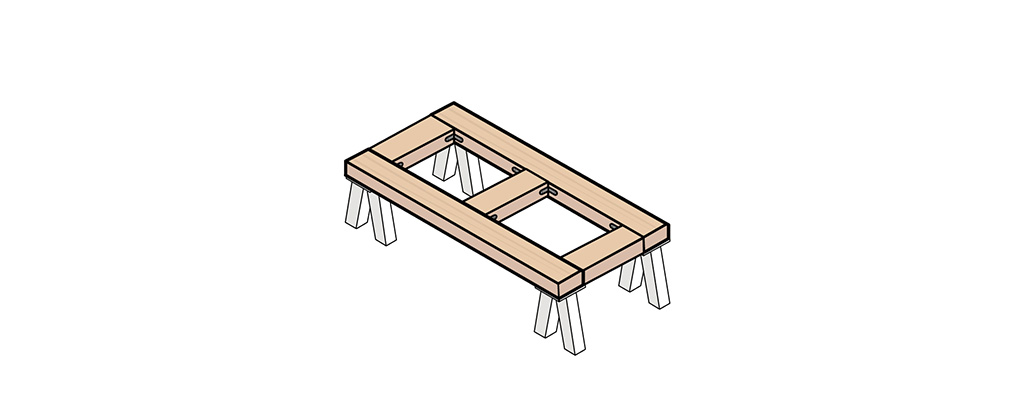
STEP 1
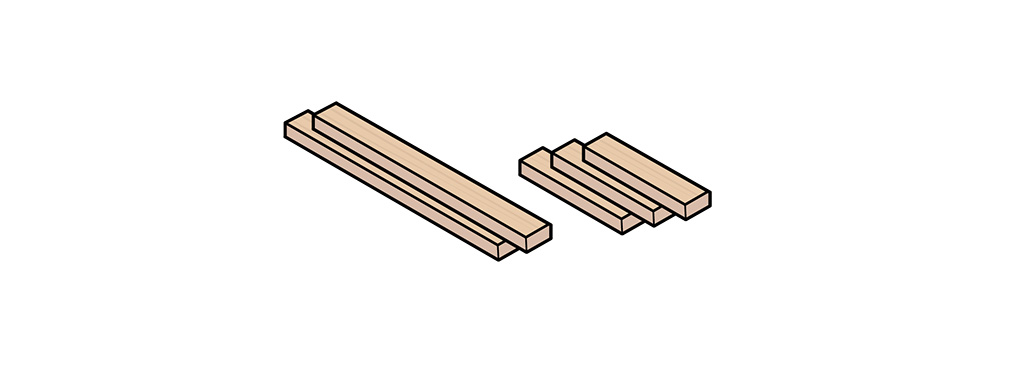
Along your cleat and using a pencil and a square, trace the lines to the dimensions to be cut out then cut 5 pieces of wood to obtain :
- 2 cleats 60 cm long
- 3 cleats 20 cm long
Tip : A miter box is ideal for ensuring a straight cut.
STEP 2
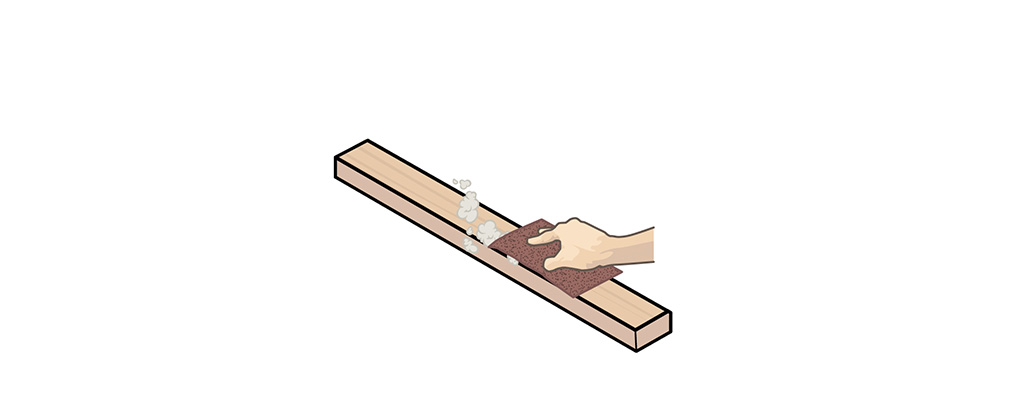
Sand each cleat, insisting on the ends to smooth the wood and its roughness using medium-grit sandpaper.
STEP 3
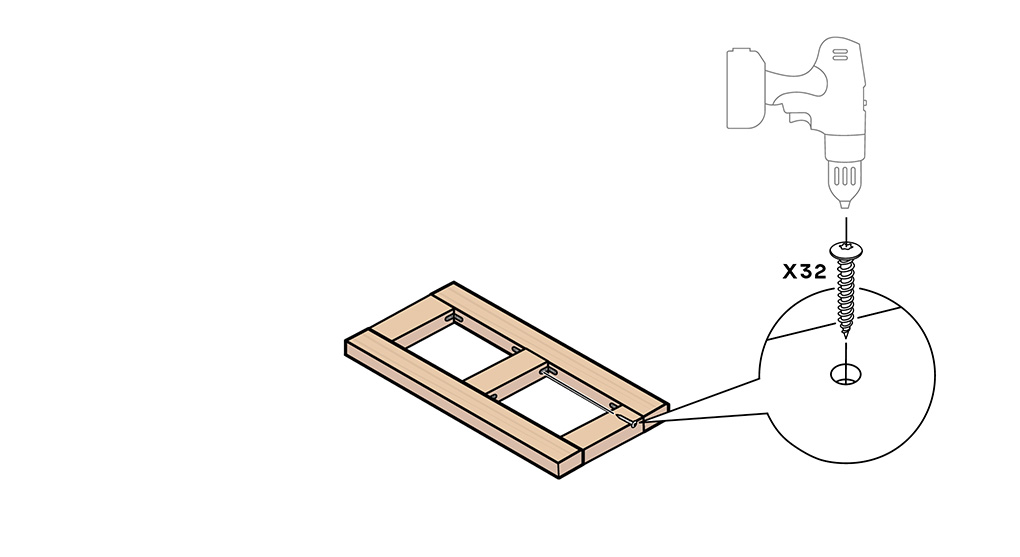
Arrange the 2 large 60 cm cleats parallel, leaving some space to position the 3 20 cm cleats inside. Have one at each end and one in the center. The small cleats are positioned inside the large cleats.
Using 8 brackets, 32 self-supporting screws and the screwdriver, fix the different cleats together.
STEP 4
Varnish the entire structure then let it dry for the time indicated using the colorless varnish and the brush.

STEP 5
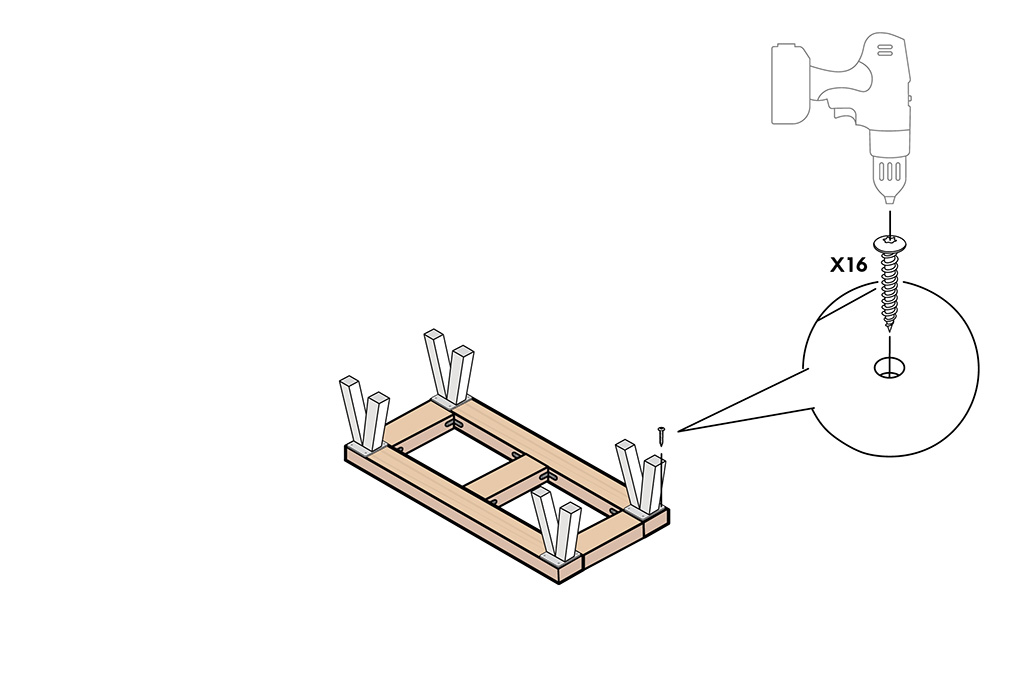
Position the 4 square feet 15 cm at each corner of the structure then secure them using a screwdriver and 16 hinge screws 20mm.
STEP 6
Turn the assembly over and position the 2 bowls in the holes.
THE RESULT
Discover all of our DIY to personalize your interior and make it unique!
And because it's not just the bowls of our four-legged friends that can be raised, but all your furniture too! Discover our range of stands used for enhance your furniture to give them that little extra thing.
Related posts
-
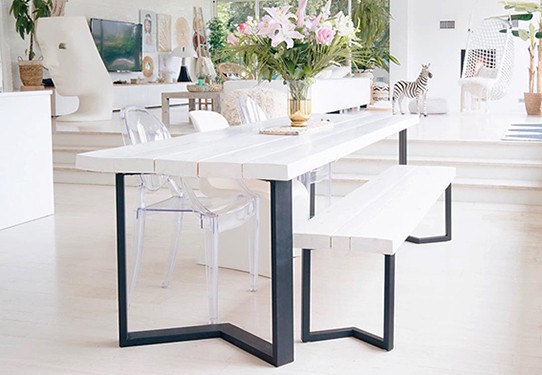
 HOW TO MAKE YOUR DINING TABLE YOURSELF?
The dining table is one of the centerpieces of the house, it will give character to your interior and will...
HOW TO MAKE YOUR DINING TABLE YOURSELF?
The dining table is one of the centerpieces of the house, it will give character to your interior and will... -
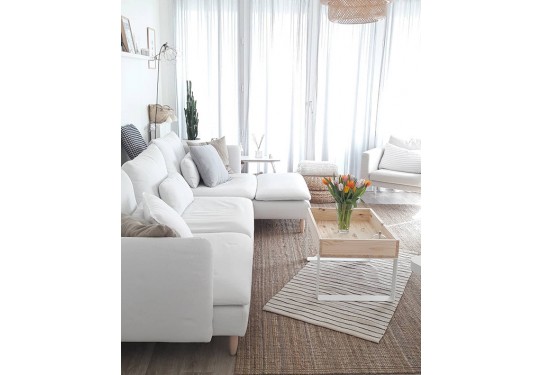
HOW TO MAKE A COFFEE COFFEE TABLE?
The coffee table is the center of the living room, where your evenings with family and friends will take place, where...
-
HOW TO MAKE A BEDSIDE TABLE WITH A BOX?
Are you desperately looking for a bedside cabinet without finding what you are looking for? We are offering you a DIY...
Leave a comment