


Blog navigation

 0
0
The daybed is a daybed or rest bed, which can also be called a bench.< /span>
Nathalie wants to dress the glass extension of her house. After several searches for inspiration, she decided to make her own daybed.
@ regardsetmaisons therefore produced 2 daybeds which it installed side by side to create a large bench seat the size of its glass roof. The choice to create 2 daybeds is rather simple for two reasons: the fact that Nathalie's canopy extension is really large, a single daybed would have made the project unstable. Plus, she can move the daybeds to other parts of her house if she wants.
MATERIAL
- 2 boards of 250 cm by 75 cm (here spruce)
- Walnut husk hint of mahogany
- Mattresses
- Cover
- 40 Vis
- 8 Tailor-made thin rectangle: H25 L75 black color
- Screwdriver
- Sanding paper
- Brush
DIY RUN
STEP 0
Make a plan according to what you want for your daybed so that there is harmony with the decoration around it, especially if you have a canopy like Nathalie. This is when you choose the arrangement of the feet as well as the spacing of these according to your board.
Good to know: Nathalie opted for a space of 85 cm between each foot.
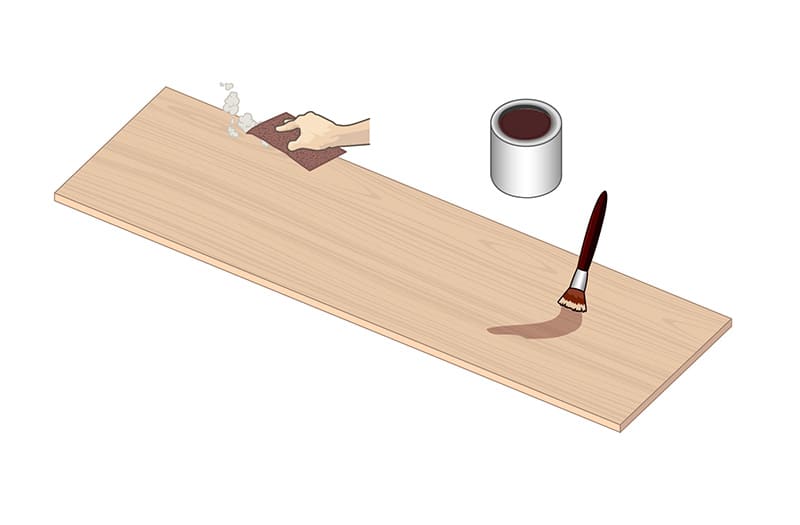
STEP 1
Sand and stain the tray, first with Le Broux de Noix, using a brush. It is a natural brown color that hides the defects of the wood. It must be applied in the direction of the wood. All you have to do is wait 2 hours for your boards to be dry.
Tip: Add mahogany to your board to give an exotic wood feel .
 < /a>
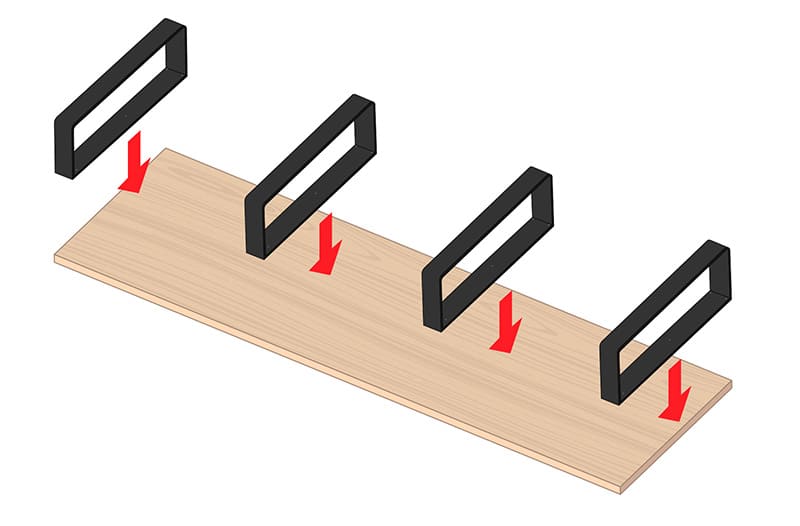
< /a>STEP 2
Place the feet thin rectangle in the right places to validate their position according to your expectations.
 < /a>
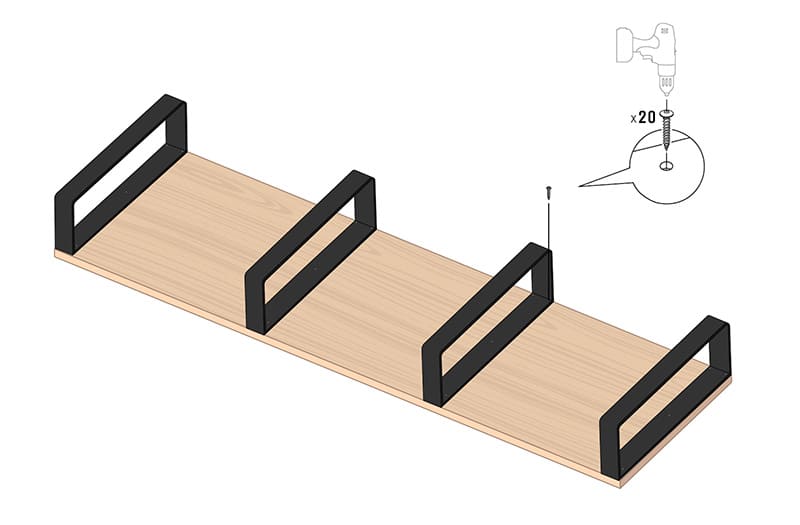
< /a>STEP 3
Fix the feet thin rectangle every 85 cm and install the bench.
 < /a>
< /a>STEP 4
Make mattresses and covers: with recycled fabric or with quilted throws.
 < /a>
< /a>STEP 5
Decorate your bench and use, if you wish, the underside of the bench with books.
 < /a>
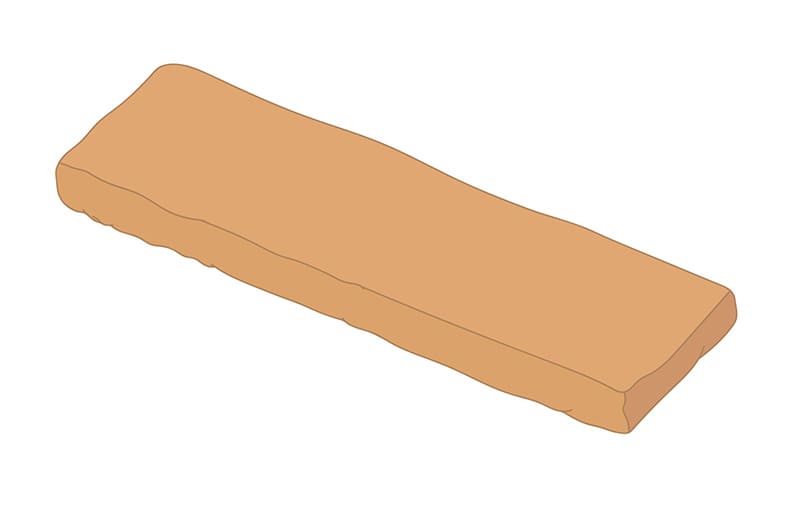
< /a>THE RESULT
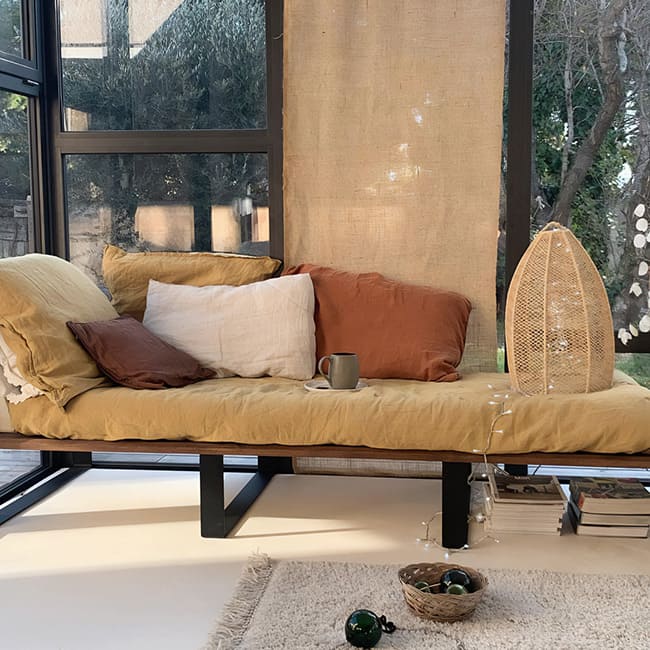 < /a>
< /a>The daybed is a piece of furniture that can be installed in different rooms of your home: living room, entrance or even an outdoor corner . The spirit of this DIY is quite cocooning and relaxing.
The location of the legs and the size of your boards will make your project unique.< /p>
Feel free to discover the rest of our DIYs on our website, by clicking here.
Related posts
-
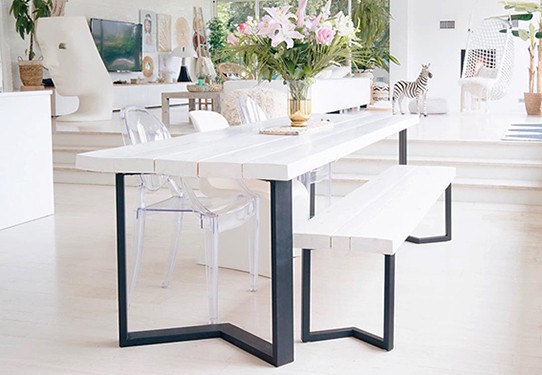
 HOW TO MAKE YOUR DINING TABLE YOURSELF?
The dining table is one of the centerpieces of the house, it will give character to your interior and will...
HOW TO MAKE YOUR DINING TABLE YOURSELF?
The dining table is one of the centerpieces of the house, it will give character to your interior and will... -
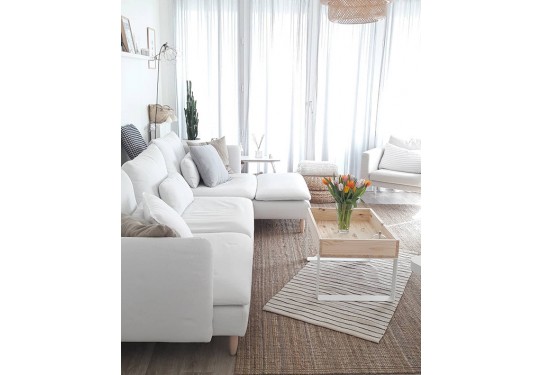
HOW TO MAKE A COFFEE COFFEE TABLE?
The coffee table is the center of the living room, where your evenings with family and friends will take place, where...
-
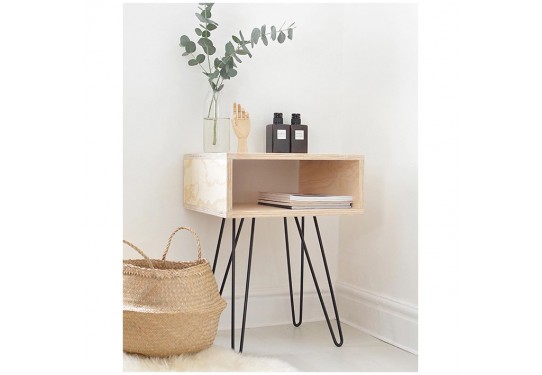
HOW TO MAKE A BEDSIDE TABLE WITH A BOX?
Are you desperately looking for a bedside cabinet without finding what you are looking for? We are offering you a DIY...
Leave a comment