


Blog navigation

 0
0
Fanny from the account @renovation_merfy wanted a new coffee table for her garden. She began manufacturing a concrete tray topped by a custom-made cubic structure. The materials should be chosen with care because this piece of furniture will be faced with very different climatic conditions from one season to the next. All our feet are designed to go and stay outdoors. The important thing is to put skates on them so that the base on the ground does not remain in permanent contact with the water.
MATERIAL
- 1 black cubic foot (Length 110 cm - Width 65 cm - Height 40 cm)
- Screwdriver
- 30 mm hinge screw
- An MDF tray: Length 110 cm - Width 65 cm - Thickness 2.5 cm
- Exterior mineral concrete
- Pore filler for exterior concrete
- High protection resin for exterior concrete
- Small grain sandpaper (120 or 150) and very fine grain (200 and more)
- Spatula / trowel
- 2 foam rollers
PS : replace the concrete with a special exterior paint + sand mixture for a textured effect.
DIY PROGRESS
STEP 1
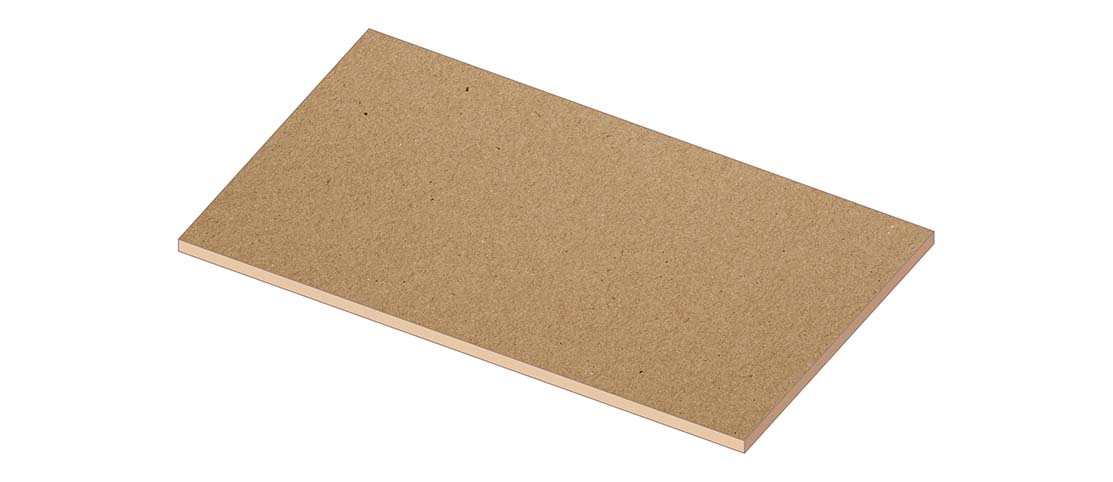
Cut the MDF board to the right dimensions yourself or buy it already cut.
You need to obtain a board length 110 cm, width 65 cm.
STEP 2
Prepare your concrete mixture with the pot of “Exterior mineral concrete”. To do this, follow the instructions on the jar.

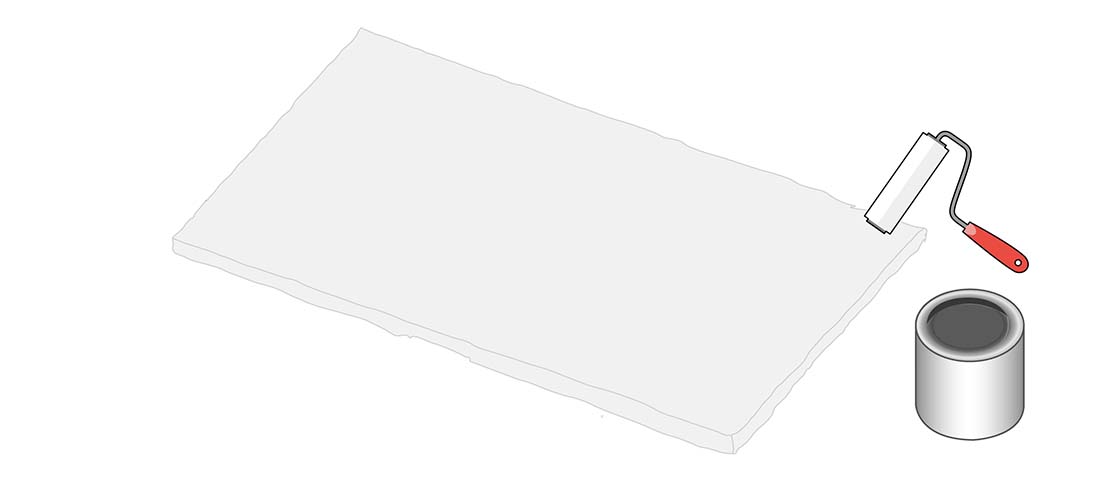
STEP 3
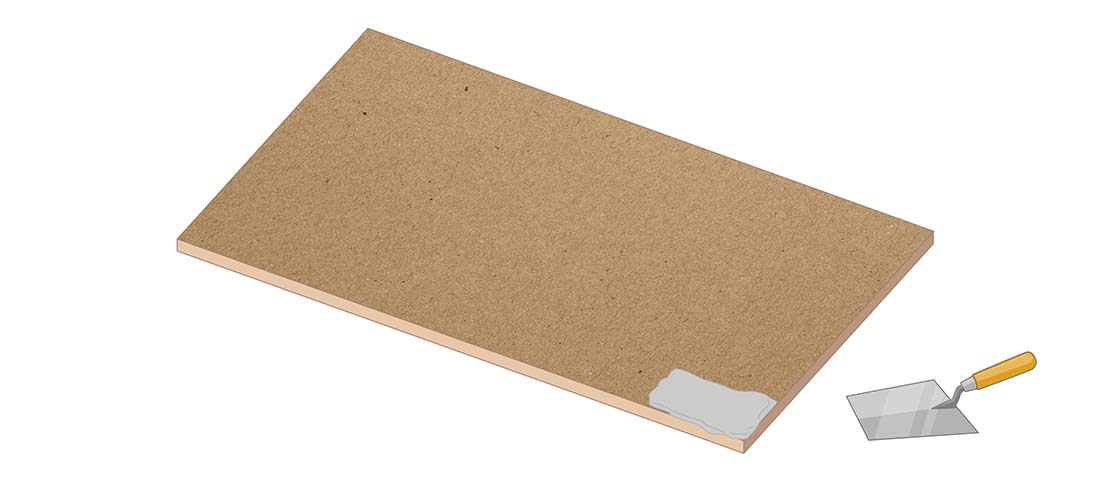
The concrete is ready, it is time to start coating the tray using a spatula or trowel.
Leave to dry for the indicated time.
PS : Be careful not to forget the edges of your tray.
STEP 4
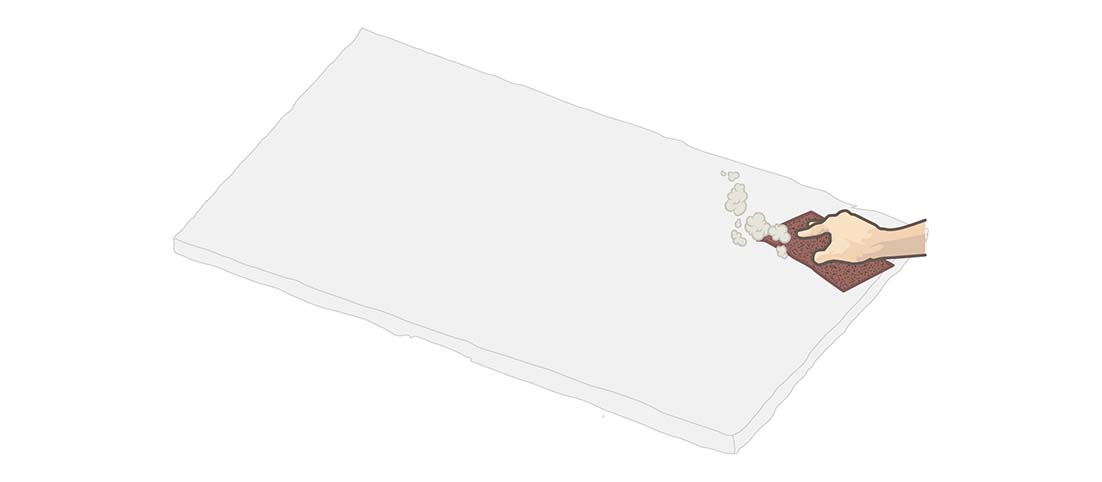
It is time to eliminate the irregularities and homogenize using a small grain sandpaper (120 or 150) before the second layer of concrete. Remember to dust well with a damp cloth before moving on to the next step.

STEP 5
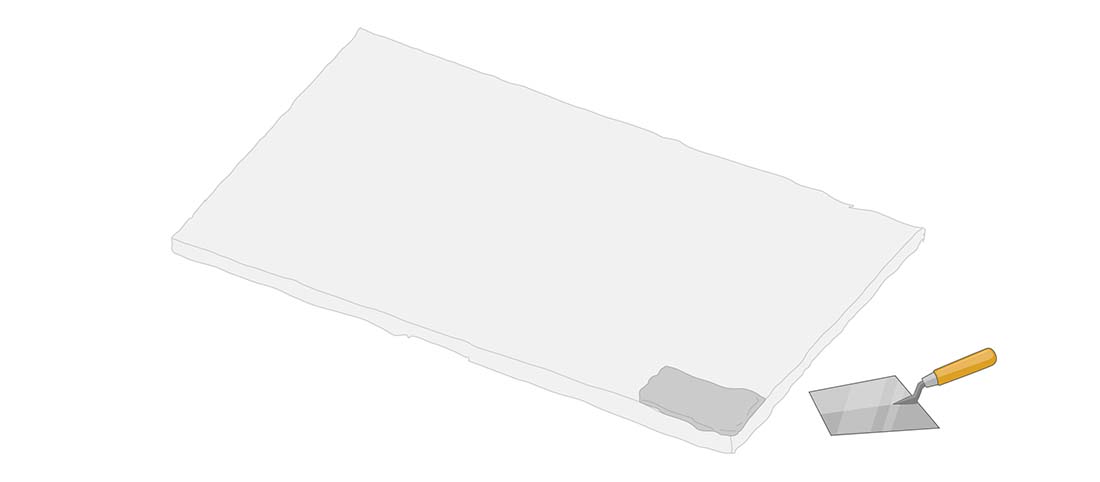
Apply a second coat of concrete with freshly mixed concrete.
Leave to dry for the indicated time.
STEP 6
Sand again with a very fine grain (200 and above). Be careful not to go too hard, the idea here is to have a smooth and regular surface.
STEP 7
It's time to protect the concrete. With the foam roller, apply the “pore filler”.
Leave to dry for the indicated time.
PS : This protection must be applied, imperatively, to saturate the material and prevent it from moving over time. Remember to make the edges of the tray.
STEP 8
Apply the high protection resin using a new foam roller.
Leave to dry for the indicated time.
A second and third layer will be necessary to ensure the viability of your tray over time.
PS : Don't forget the edges of the board.

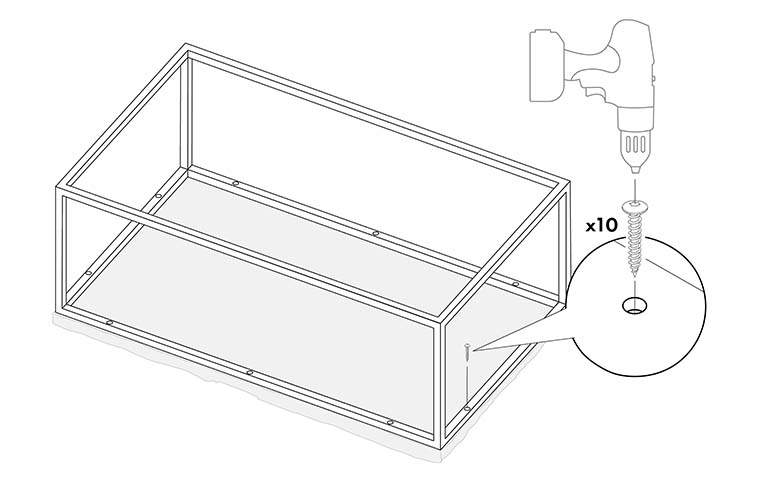
STEP 9
Position the tray on its back to secure it the cubic foot using a screwdriver and dedicated hinge screws.
THE RESULT
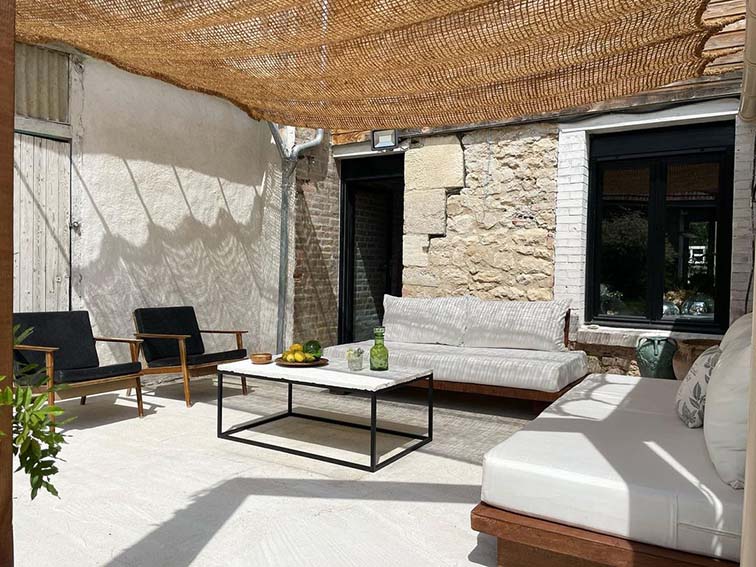
Photo credit : @renovation_merfy
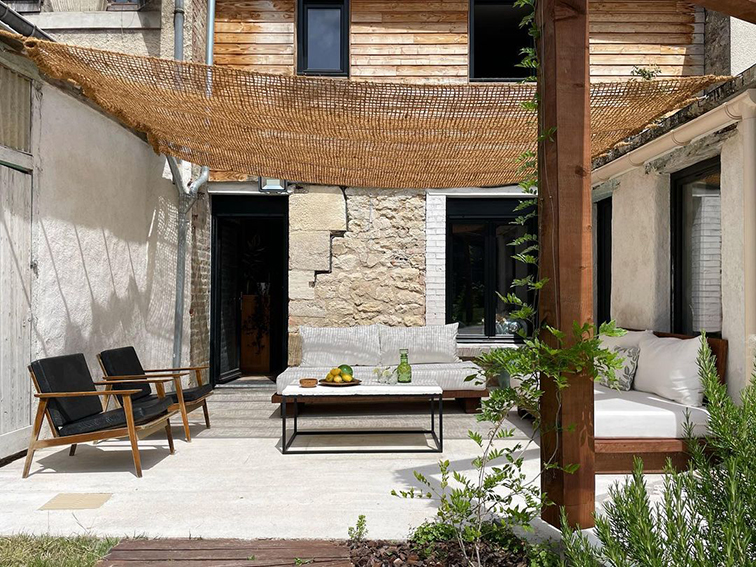
Photo credit : @renovation_merfy

Photo credit : @renovation_merfy
In the off-season, consider covering the whole thing to protect it from bad weather of all kinds and ensure it holds up better over time.
Discover our other DIYs. Here in a few steps how to make a coffee table with beams or a coffee table with box.
Related posts
-
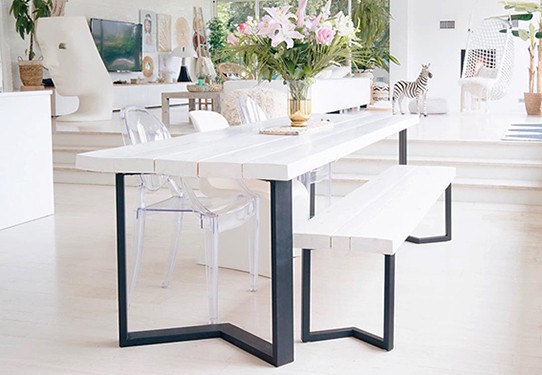
 HOW TO MAKE YOUR DINING TABLE YOURSELF?
The dining table is one of the centerpieces of the house, it will give character to your interior and will...
HOW TO MAKE YOUR DINING TABLE YOURSELF?
The dining table is one of the centerpieces of the house, it will give character to your interior and will... -
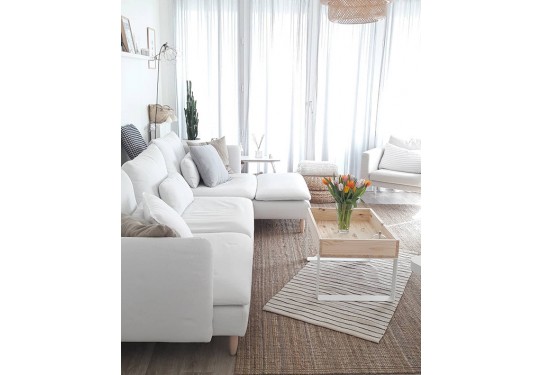
HOW TO MAKE A COFFEE COFFEE TABLE?
The coffee table is the center of the living room, where your evenings with family and friends will take place, where...
-
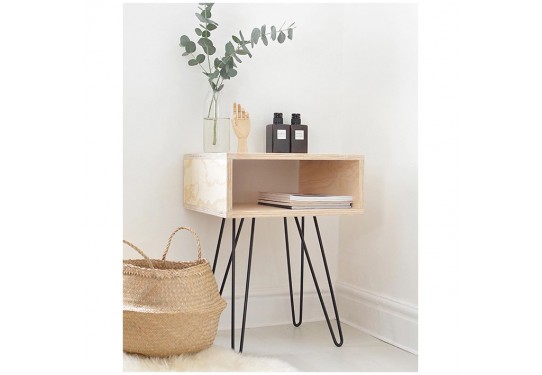
HOW TO MAKE A BEDSIDE TABLE WITH A BOX?
Are you desperately looking for a bedside cabinet without finding what you are looking for? We are offering you a DIY...
Leave a comment