


Blog navigation

 0
0
Let's make a simple DIY together: a small bench or coffee table depending on how you use it. Made from a pallet, you are about to upcycle an object to create a useful and aesthetic piece of furniture. The idea comes from @188m2debonheur.
MATERIAL
- Pressure washer
- Bucket
- Sponge
- Soap solution
- Crowbar
- Hammer
- 1 Europe pallet measuring 80 x 120 cm
- Pumice paper
- Tongs
- Wood varnish
- Paint brushes
- 2 wooden strips 75 cm long, 5 cm wide and 1.5 cm thick
- 2 cross legs 40 cm<
- 16 hinge screws 15 mm
- 20 hinge screws 25 mm
- Screwdriver
DIY PROCEDURES
STEP 1
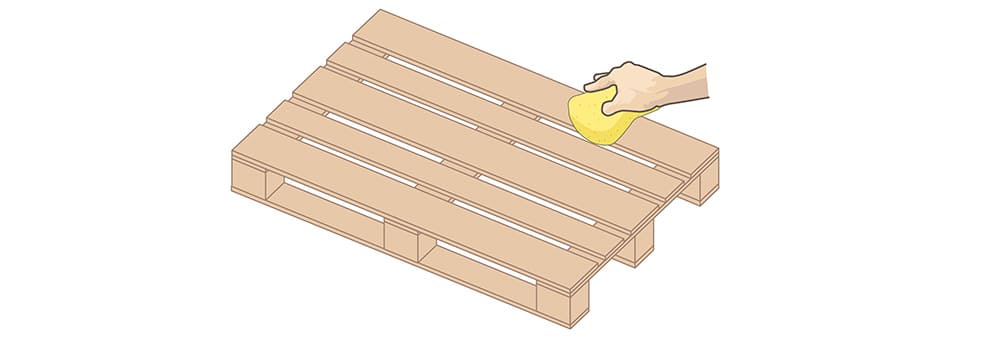
Let's clean the pallet first before deboning it.
The simplest being with a high pressure cleaner to first remove the largest dirt (earth, sand, etc.). If you don't have one, use a large sponge, a bucket and lots of elbow grease.
Allow the wood to dry 100% before moving on to the next step.
STEP 2
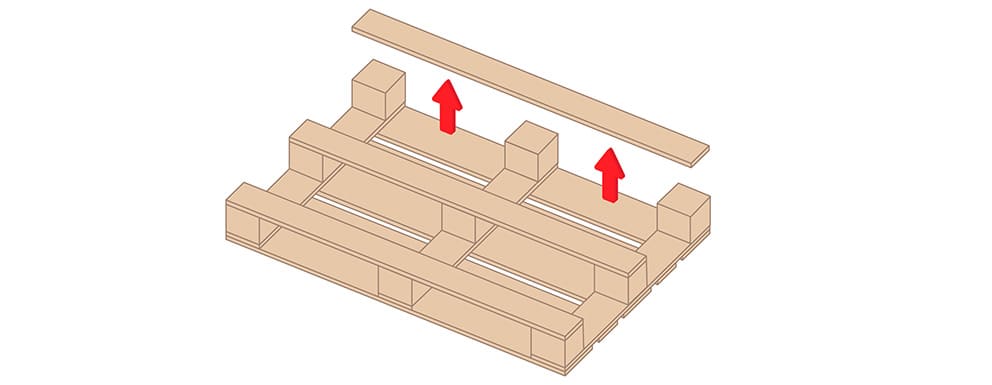
We will now debone the pallet. For this we will use a crowbar and a hammer. We will dismantle it from below, in order to preserve the boards as much as possible for reuse.
Position the pallet upside down, taking care to position it on a tarpaulin or in a clean area to avoid getting it dirty again. Using the crowbar, start removing the boards from underneath. To large blocks of wood, use a hammer to strike the side to create a gap in order to slide the crowbar.
Finish by removing the nails using pliers.
STEP 3
Here you are with individual boards. We will finish preparing them before assembling them. Sand each board on all sides, not forgetting the sides to remove all rough edges from the wood and avoid splinters.

STEP 4
And finally, clean with soapy water and a sponge to remove residue and dust created.
Allow to dry until the wood is 100% dry.

STEP 5
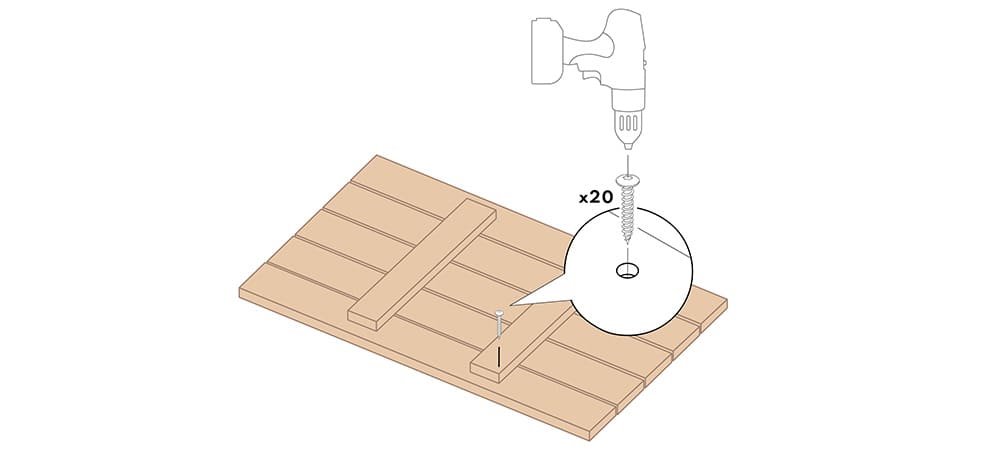
Here you are with clean boards ready to use. It's time to position them on their backs to form the board. We will use the battens to fix them together using the 20 25 mm hinge screws.
On each cleat, 2 screws must help hold the board, i.e. 2 parallel lines of 5 screws.
PS: already think here about the positioning of your feet to carefully think about those of the cleats
STEP 6
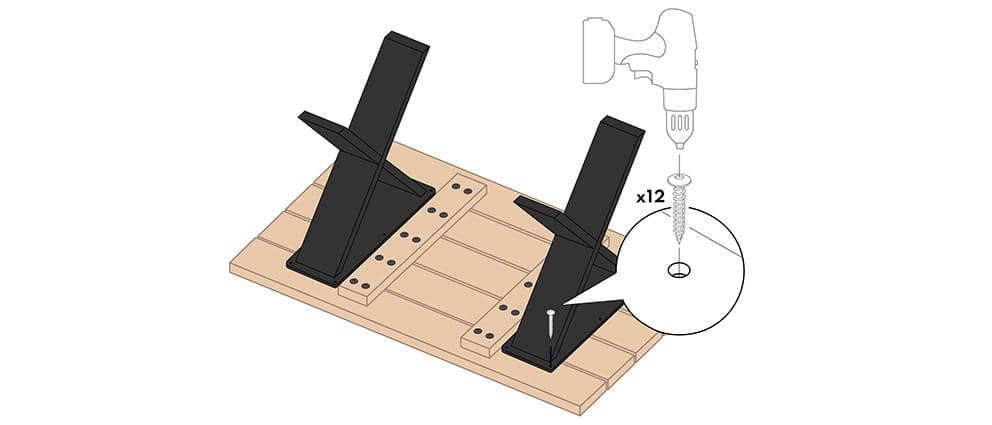
The final phase, it’s time to take care of the leg. Position the cross leg 15 cm from the edge and using the screwdriver and the hinge screws, fix them.
STEP 7
Last step, we will protect the tray using varnish and the brush..

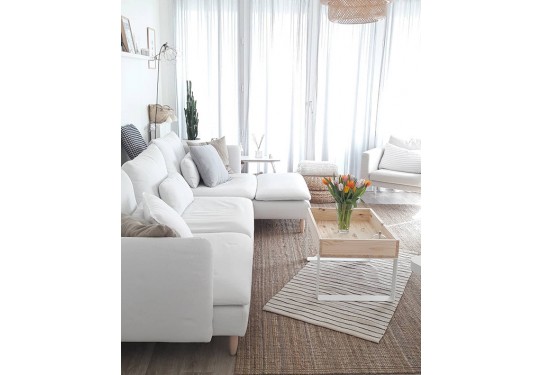
THE RESULT
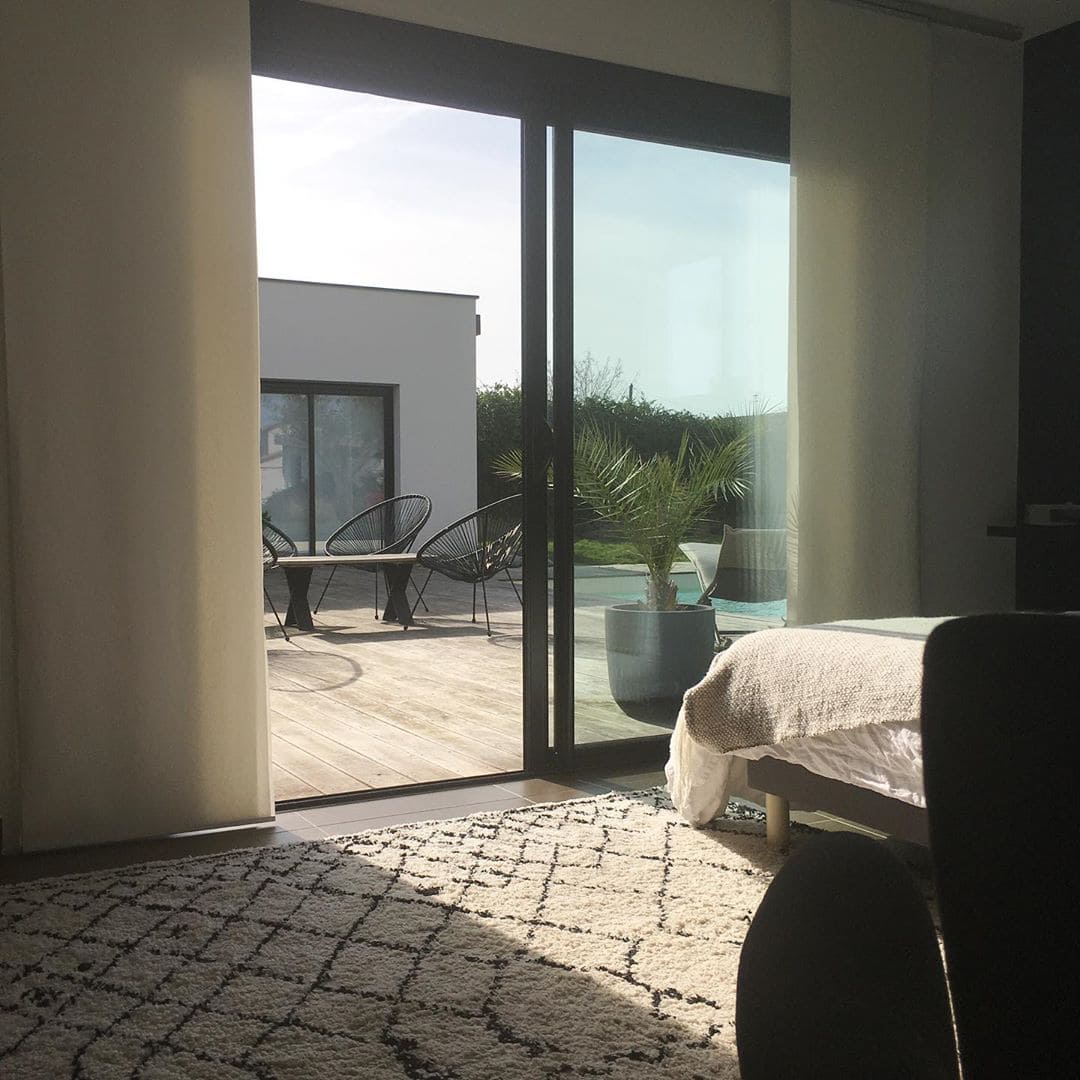
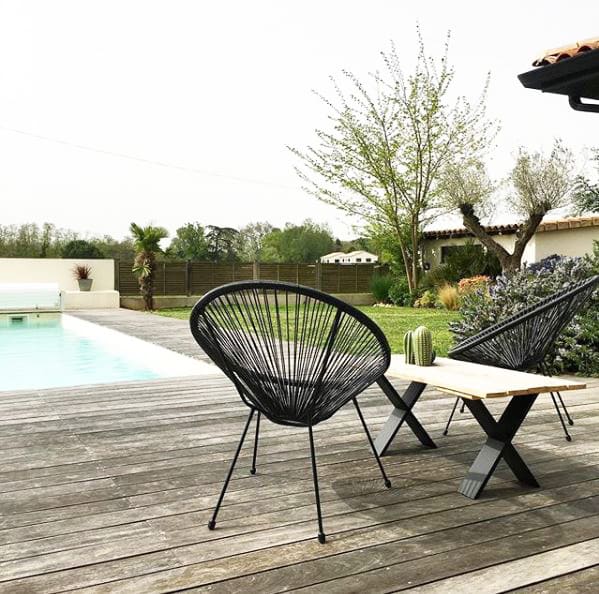
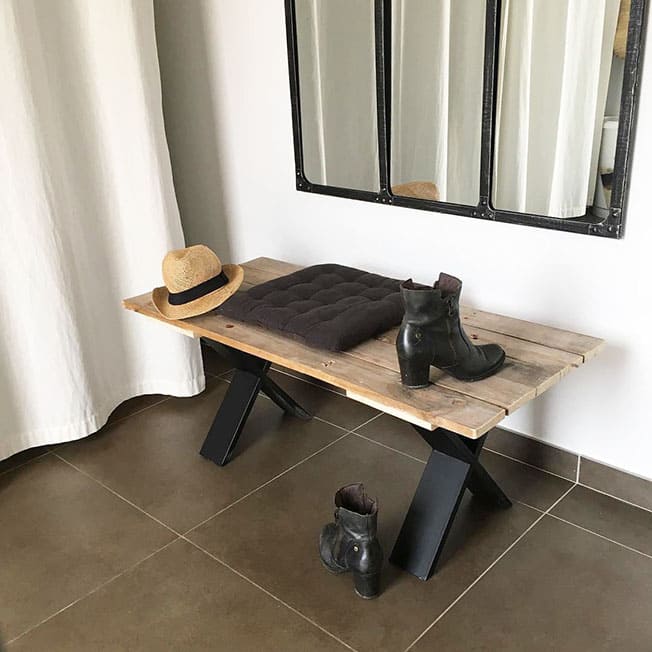
Here you are with a piece of furniture that serves dual purposes and protects. The boards may move a little depending on the humidity of your environment in relation to the origin of the pallet. Wood remains a living material.
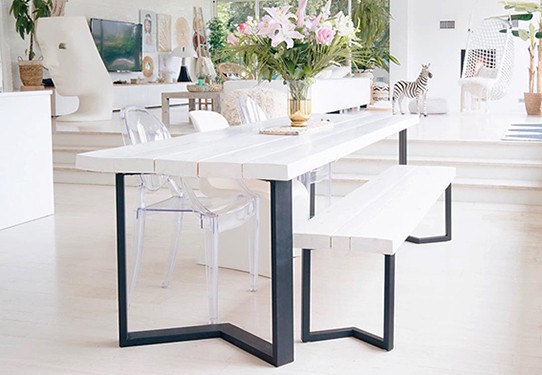
Discover our other DIYs in click here, notably a bench made using wagon board or even a complementary bench to a dining table.
Related posts
-
 HOW TO MAKE YOUR DINING TABLE YOURSELF?
The dining table is one of the centerpieces of the house, it will give character to your interior and will...
HOW TO MAKE YOUR DINING TABLE YOURSELF?
The dining table is one of the centerpieces of the house, it will give character to your interior and will... -
HOW TO MAKE A COFFEE COFFEE TABLE?
The coffee table is the center of the living room, where your evenings with family and friends will take place, where...
-
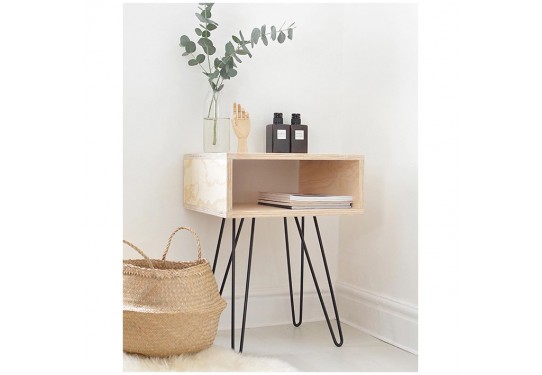
HOW TO MAKE A BEDSIDE TABLE WITH A BOX?
Are you desperately looking for a bedside cabinet without finding what you are looking for? We are offering you a DIY...
Leave a comment