


Blog navigation

 0
0
For an outdoor table project, Mélanie from the account @maison_de_melanie embarked on a DIY to to create the dream table.
Her inspiration comes from another creation with the M 71 cm legs and she chose to personalize her project by choosing a gold color and preserving the color of the wood by protecting it against external bad weather.
Its goal being to obtain a 3m by 1m table on a low budget. It’s a successful bet, the total value is €300. Let's take a look at the few, rather simple steps to make it happen.
MATÉRIEL
- 6 autoclave containers
- Sanding paper
- Wood screws
- 2 or 3 sleepers
- Stain
- Brushes
- 2 feet M 71 cm
- 45 mm hinge screw
- 20 mm hinge screw
- Screwdriver
DIY PROCEDURES
STEP 1
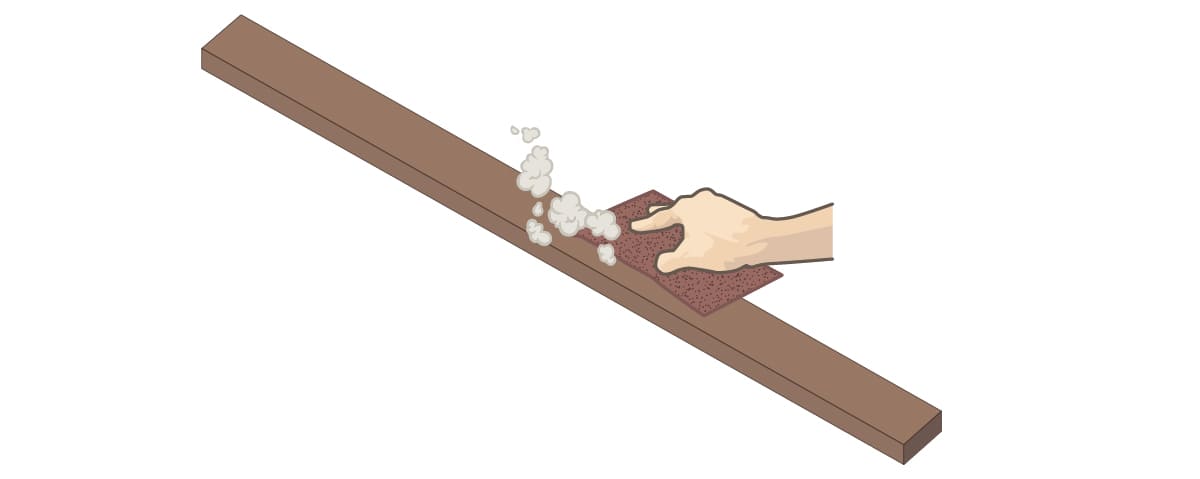
Sand the bastaings using sandpaper depending on their condition.
A smooth wood is more pleasant because it avoids splinters and will better absorb the future protection that will be applied.
This step is not obligatory depending on the state of your bastaings.
STEP 2
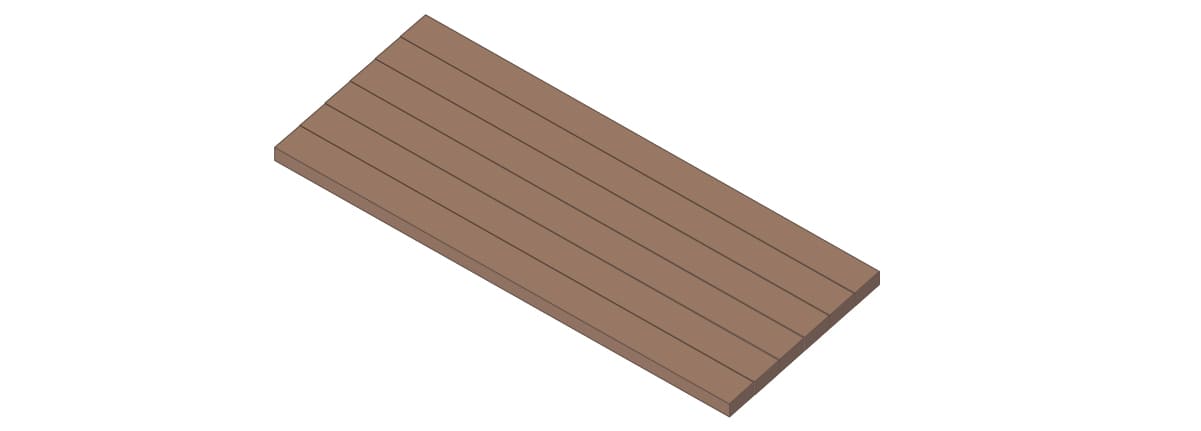
Place the bastaings on a flat ground and align them.
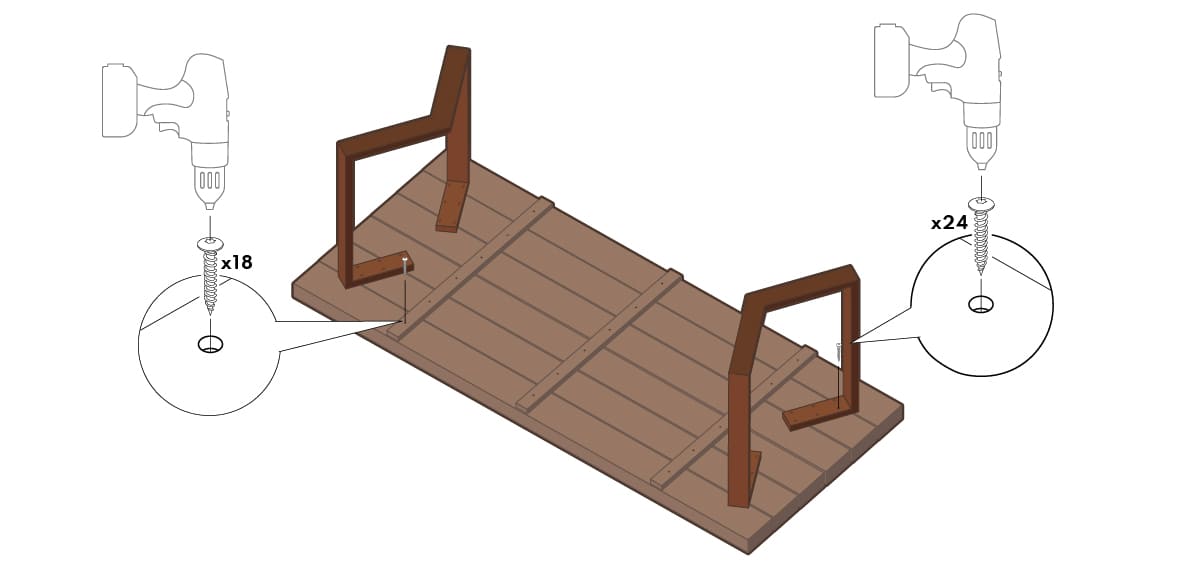
STEP 3
Position the reinforcements and feet to give you an idea of the final positioning before moving on to fixing.
For sleepers, there should be one at each end and one in the center. For the feet, you can position them up to 30 cm from the edge.
POSITION 1
Les renforts à 5 cm du bord et chaque pied M à 25 cm du bord.
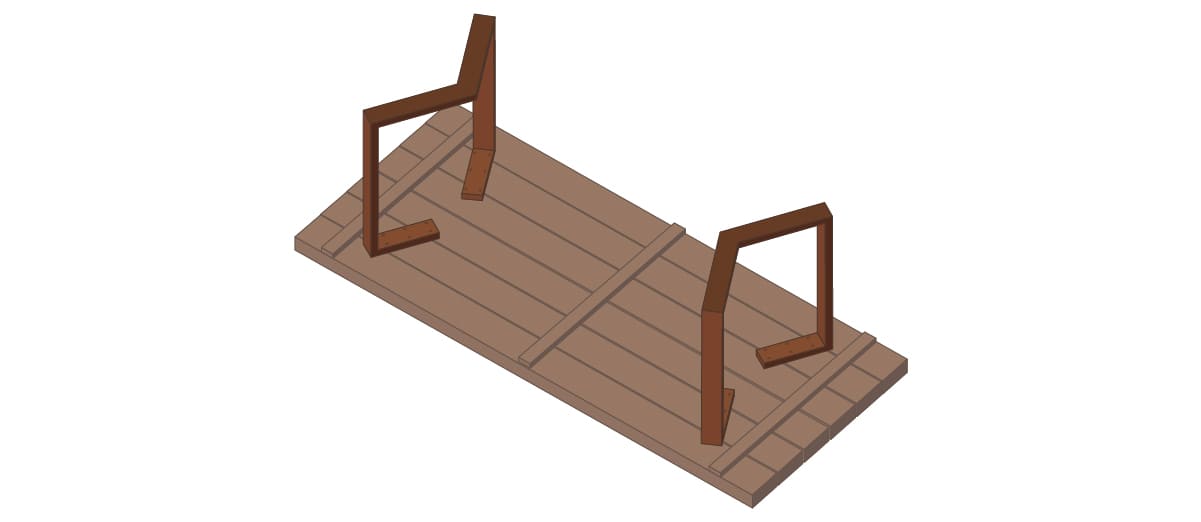
POSITION 2
The M legs 10 cm from the edge and the reinforcements against the M leg inside.
STEP 4
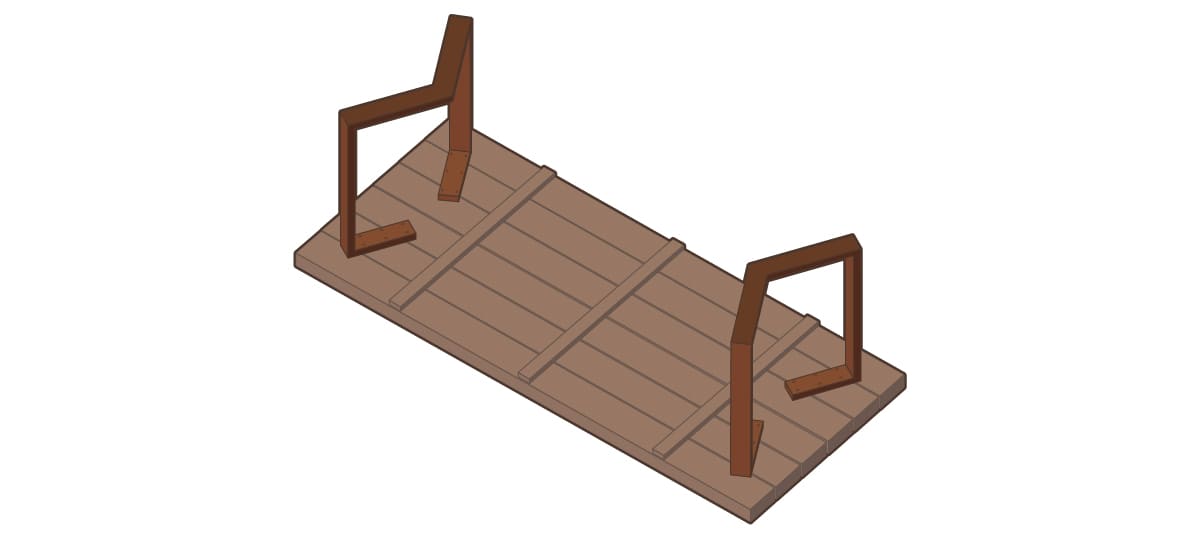
Fix the crosspieces and the M feet thanks to the hinge screws and the screwdriver.
For M feet, use 45 mm screws. For reinforcements, use 20 mm screws.
STEP 5
Apply the stain to the entire surface (top and bottom), especially for outdoor use. All this with a brush and leave to dry for the indicated time.
THE RESULT
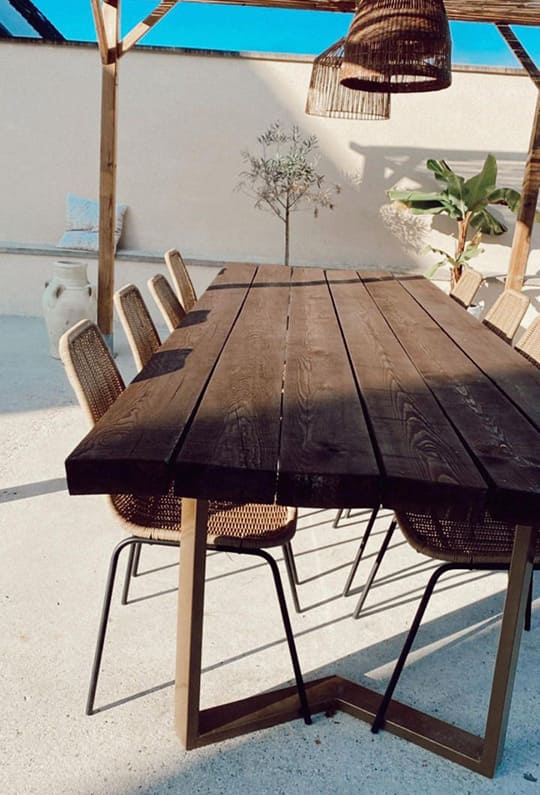
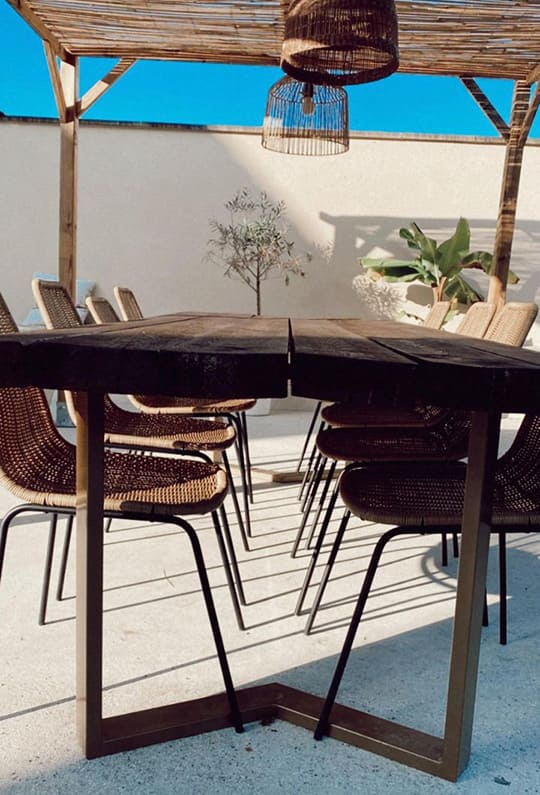
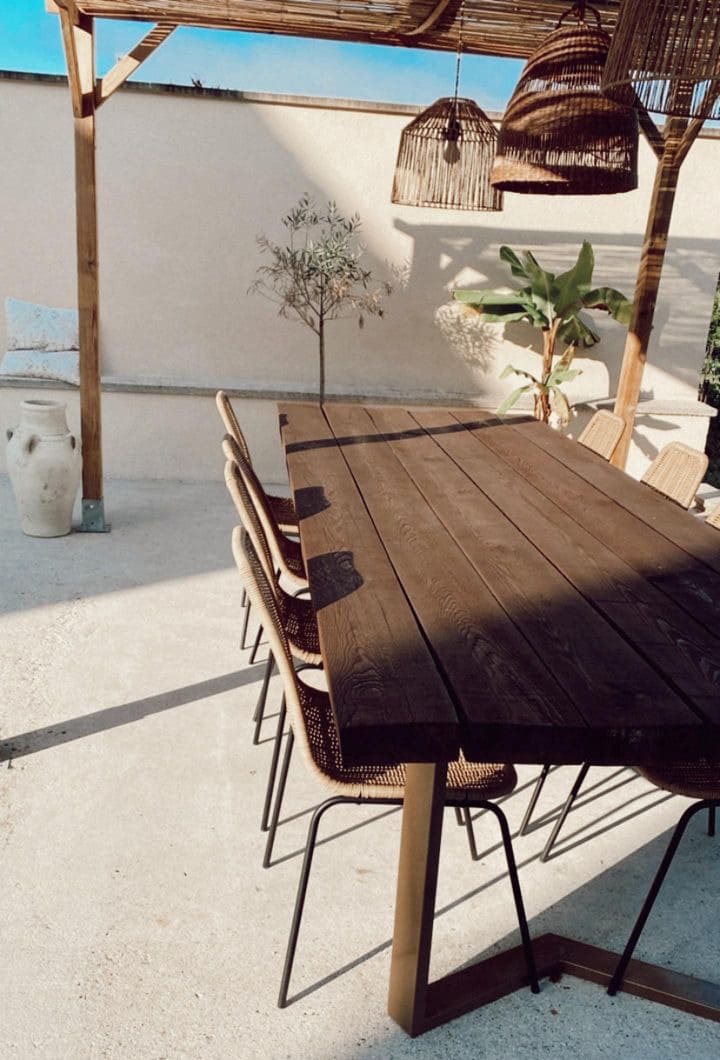
As the table is made from bastaing, it may be that once finished it is not perfectly smooth and has some irregularities. That’s part of the charm of DIY.
Still for an outdoor table project, here are other DIYs:
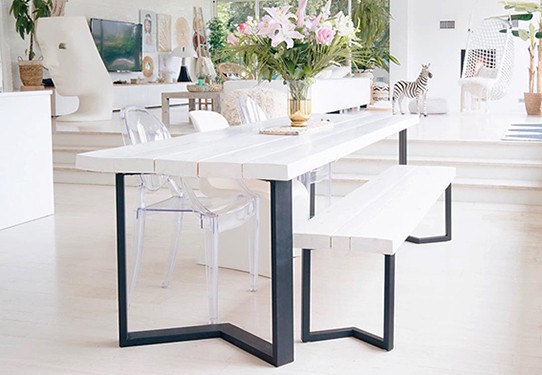
L’inspiration principale de Mélanie provient de table DIY in full black. In addition here, 2 benches to accompany the table. All this painted black to create a monochrome blog..
Here the wish was to have a new table with an aged effect, as if it had always been there. The feet chosen are the thick rectangles in raw finish and in the customization of this dining table, a step is devoted to forcing the rust.
Another inexpensive tip is using boots to make a tray. Accompanied here by a pair of cross legs.
Take the best of each idea and compose your project according to your tastes and preferences.
Related posts
-
 HOW TO MAKE YOUR DINING TABLE YOURSELF?
The dining table is one of the centerpieces of the house, it will give character to your interior and will...
HOW TO MAKE YOUR DINING TABLE YOURSELF?
The dining table is one of the centerpieces of the house, it will give character to your interior and will... -
HOW TO MAKE A COFFEE COFFEE TABLE?
The coffee table is the center of the living room, where your evenings with family and friends will take place, where...
-
HOW TO MAKE A BEDSIDE TABLE WITH A BOX?
Are you desperately looking for a bedside cabinet without finding what you are looking for? We are offering you a DIY...
Leave a comment